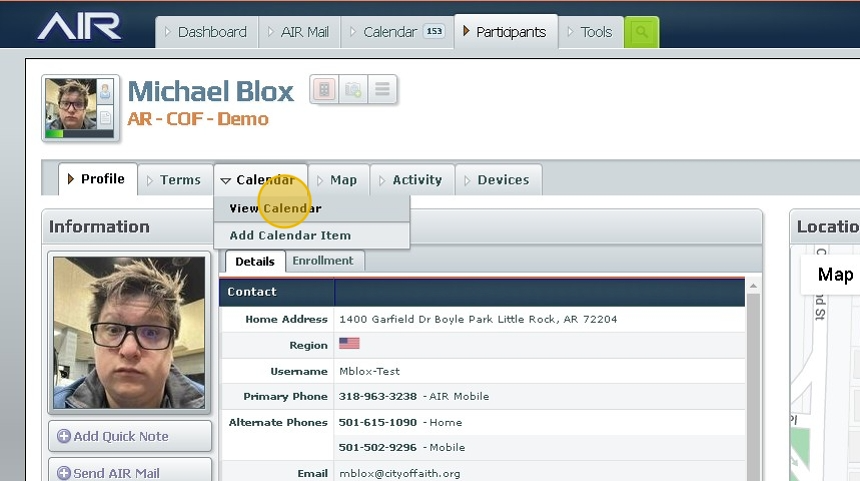
1. Navigate to the participant summary screen.
2. Click "Calendar"

3. Click "View Calendar"
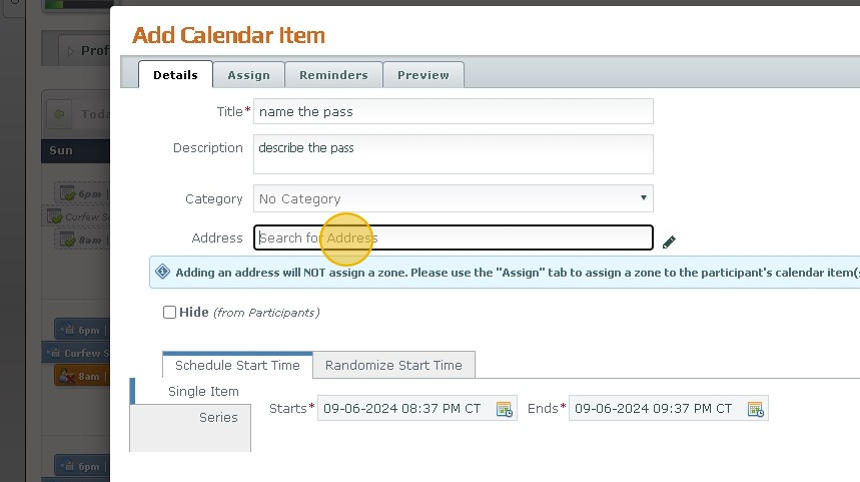
4. Click the date you want the item to start on. A pop up will appear.

5. Click the "Title" field and name the pass something that you will be able to identify such as "Blox" Work Schedule.

6. Click the "Description" field and type in any details that are needed to describe the pass.
7. Click the "Address" field type in the address you want(this field is optional).
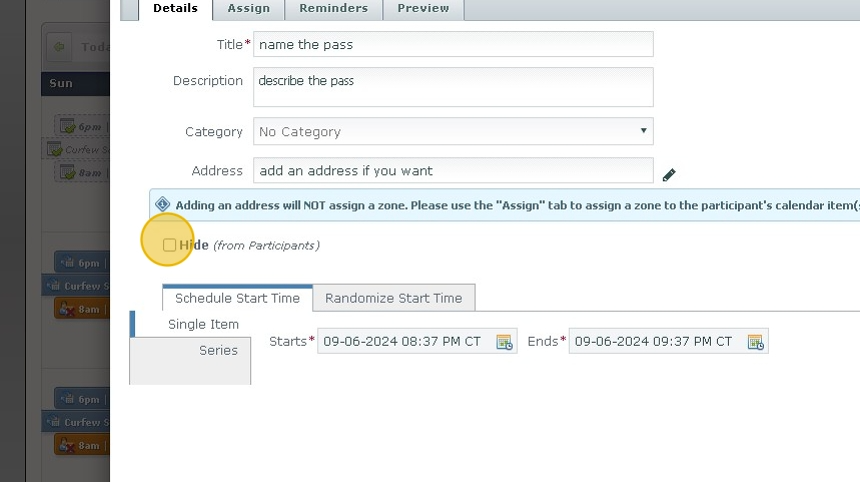
8. Click the "Hide (from Participants)" field to make the item hidden. This is crucial if scheduling random checks.
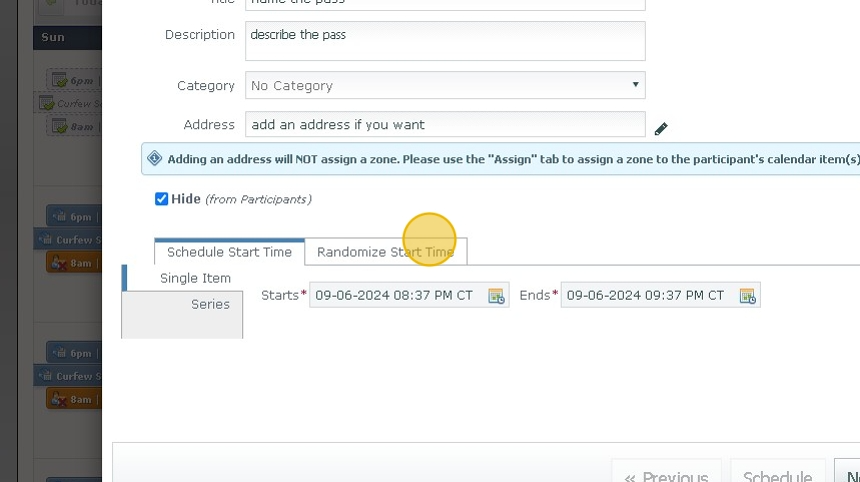
Random Checks
9. If scheduling check ins Click "Randomize Start Time" otherwise proceed to Calendar Items
10. Click "Series"

11. Click the "Starts" field and select a start date

12. Click the "Until" field and do the same for an end date.

13. Determine how often you'd like the events to repeat. For this example we'll do daily.
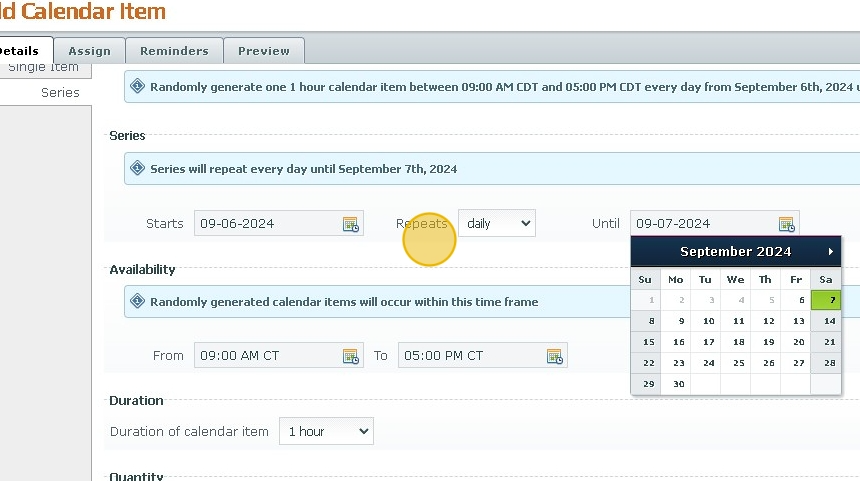
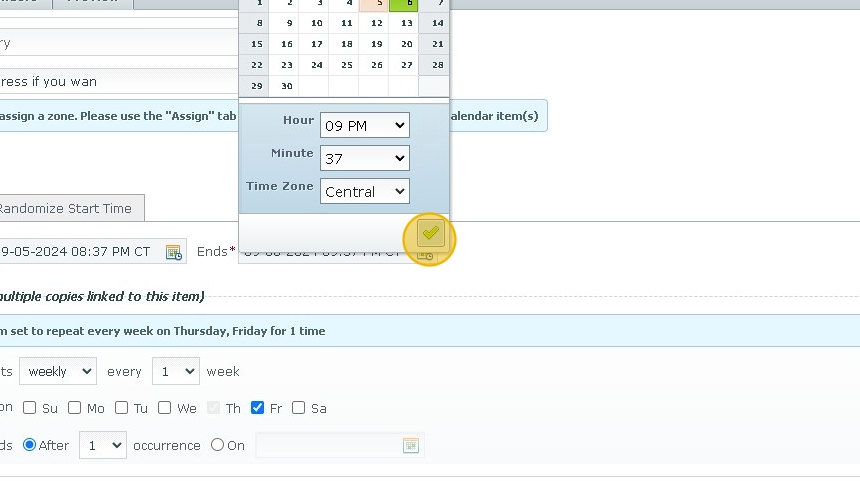
14. Click the "From" field and select a time to start the checks.

15. Click the Checkmark to save.
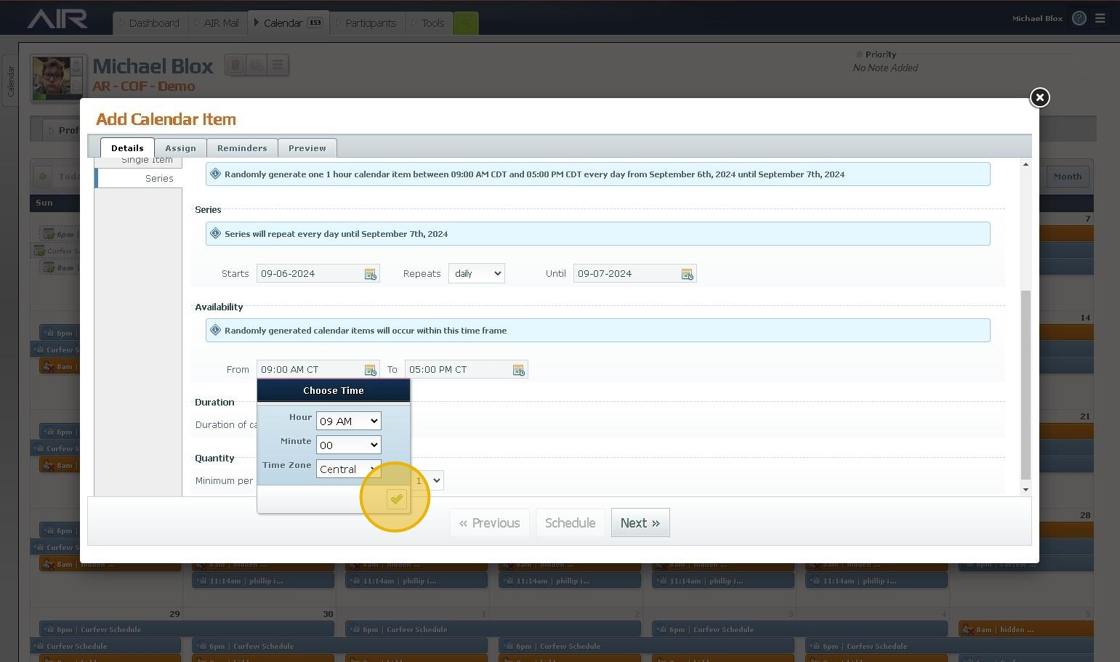
16. Do the same for the end time.

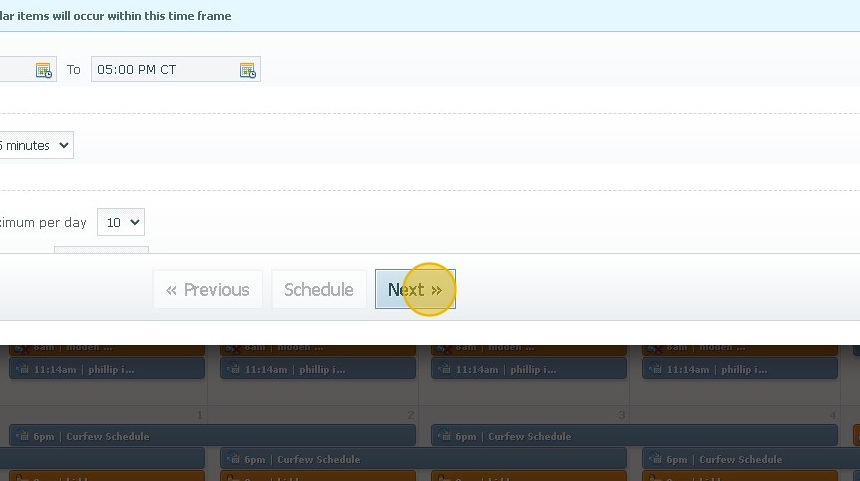
17. Click "Duration" and select 15 minutes this sets the time the calendar item will last.

18. Select a maximum and a minimum number per day. City of Faith usually schedules 1-4 per 8 hour shift.

19. Click "Next"
Regular items
20. Click "Single Item" to make it a single item
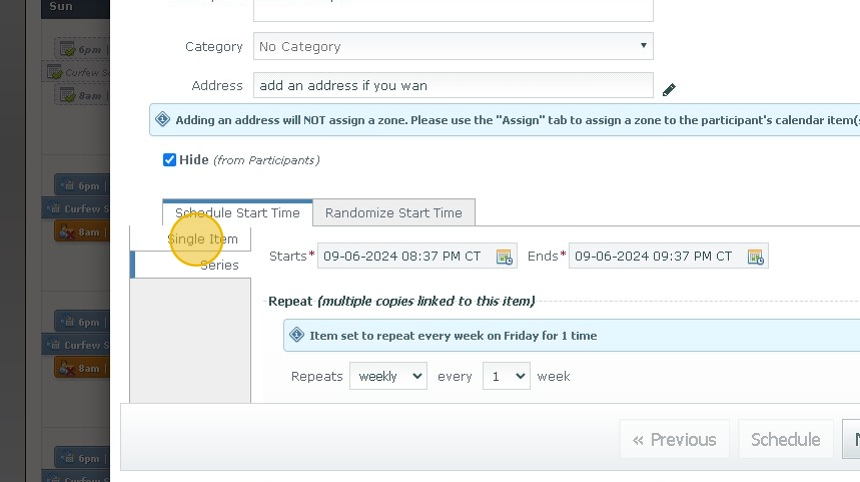
21. Click "Series" to have it repeat

22. Set the Start dates and time

23. Set the End Dates and Times

24. Click "Done"
25. Click this dropdown to determine how often it should repeat.
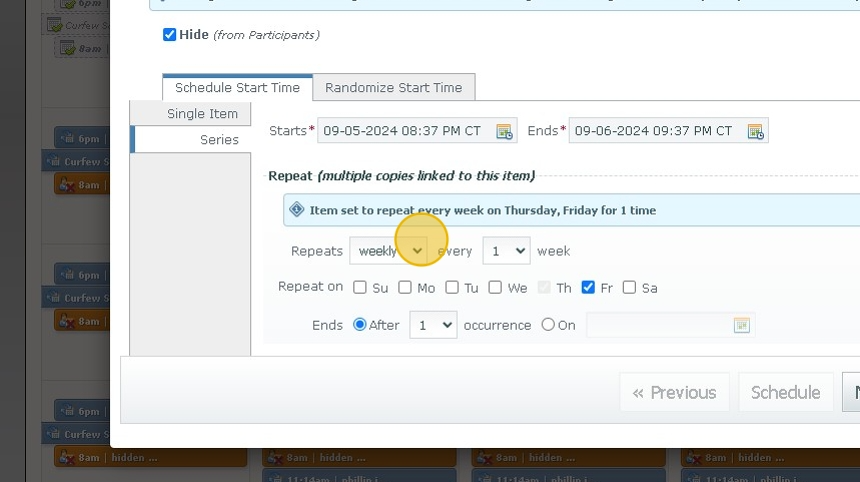
26. Click this dropdown to determine how many times it should repeat

27. Click Next to proceed.

Assigning the Participant
Tip: The Assignment steps are the same in both scenarios. So feel free to proceed here as needed.
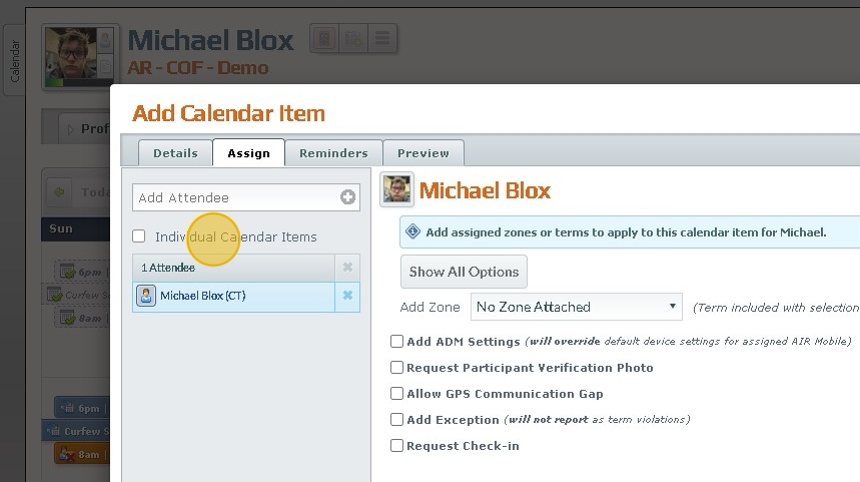
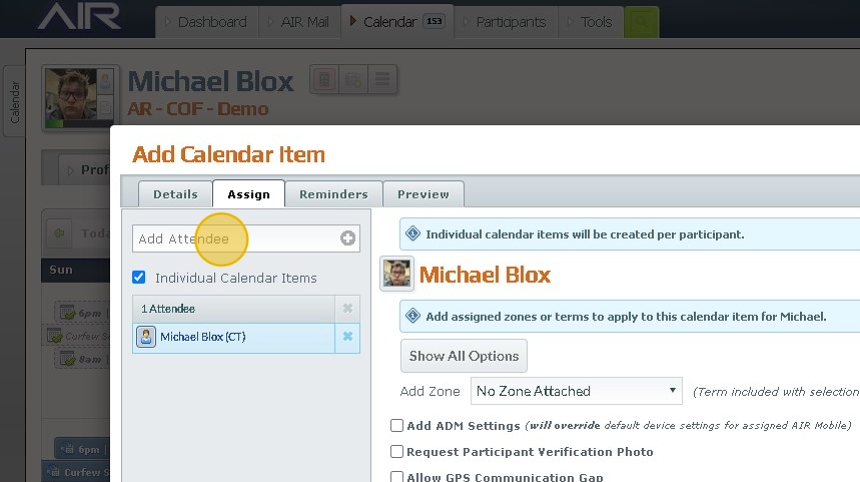
28. Click "Individual Calendar Items" if adding multiple participants to the same schedule. Note if you want participants to have the same work schedule and don't require check ins then this box is not needed. If doing check ins this box must be clicked
29. Click the "Add Attendee" field to add schedule multiple people at the same time. Type in each participants name who would be on this schedule.
30. To schedule a check in use these boxes to schedule a verification. Then Click "Next »"

Alert: If a zone is attached here you will need to set up an exception between zones this will allow for things like travel time.
31. Set any needed reminders here then Click "Next »"

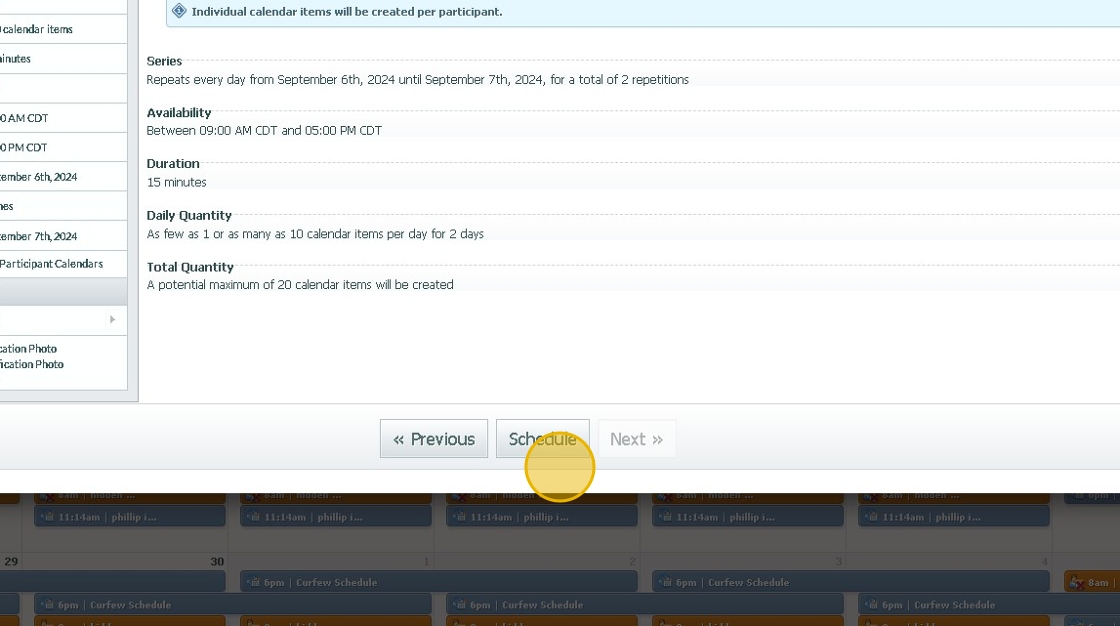
32. Review then Click "Schedule."
Was this article helpful?
That’s Great!
Thank you for your feedback
Sorry! We couldn't be helpful
Thank you for your feedback
Feedback sent
We appreciate your effort and will try to fix the article