New Feature: Calendar Denial Messages
Learn how to process and deny calendar item requests within the AIR platform. This guide explains how to provide feedback to participants and effectively manage your scheduling queue.
Denying a Calendar Request
1. Navigate to https://air.corrisoft.com/calendar_items/upcoming_events
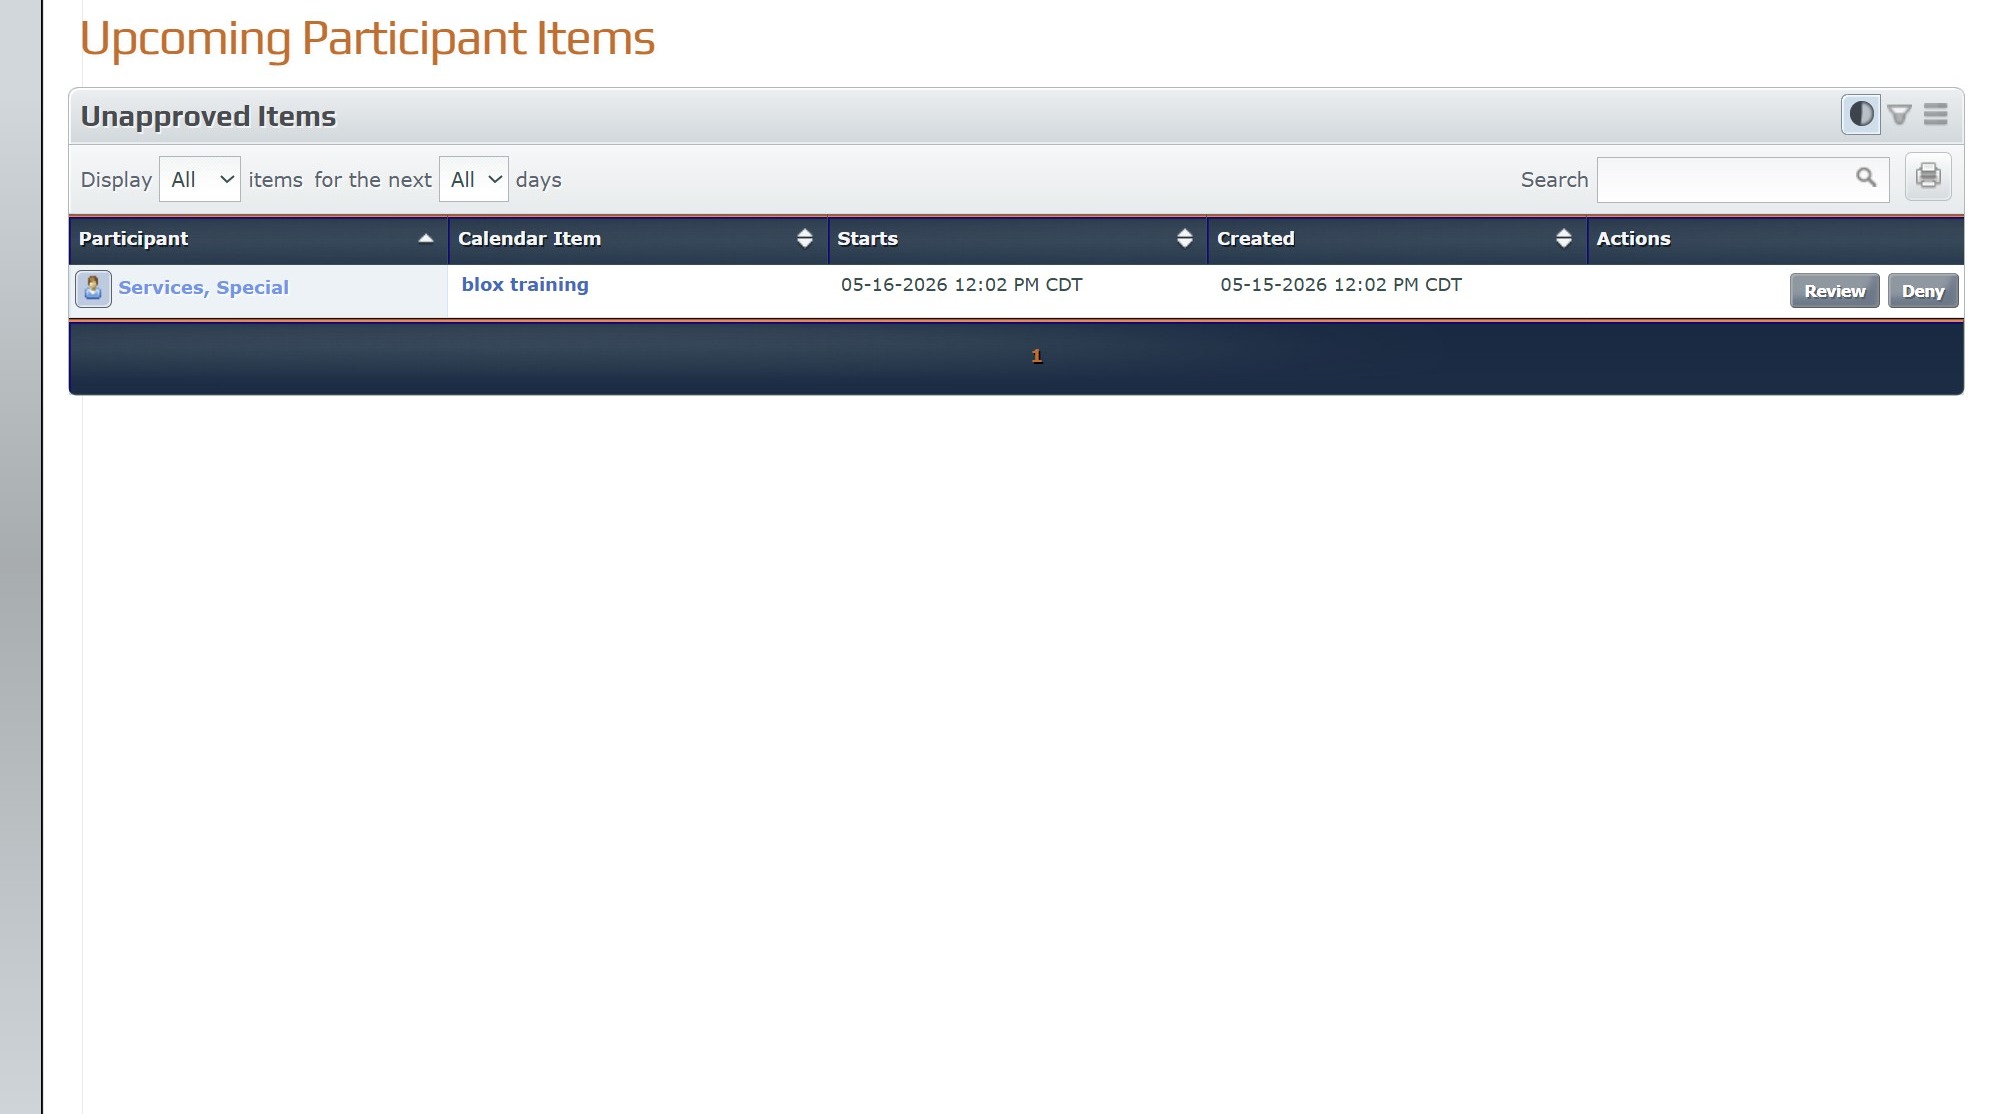
2. Select the participant record for "Services, Special" from the list.
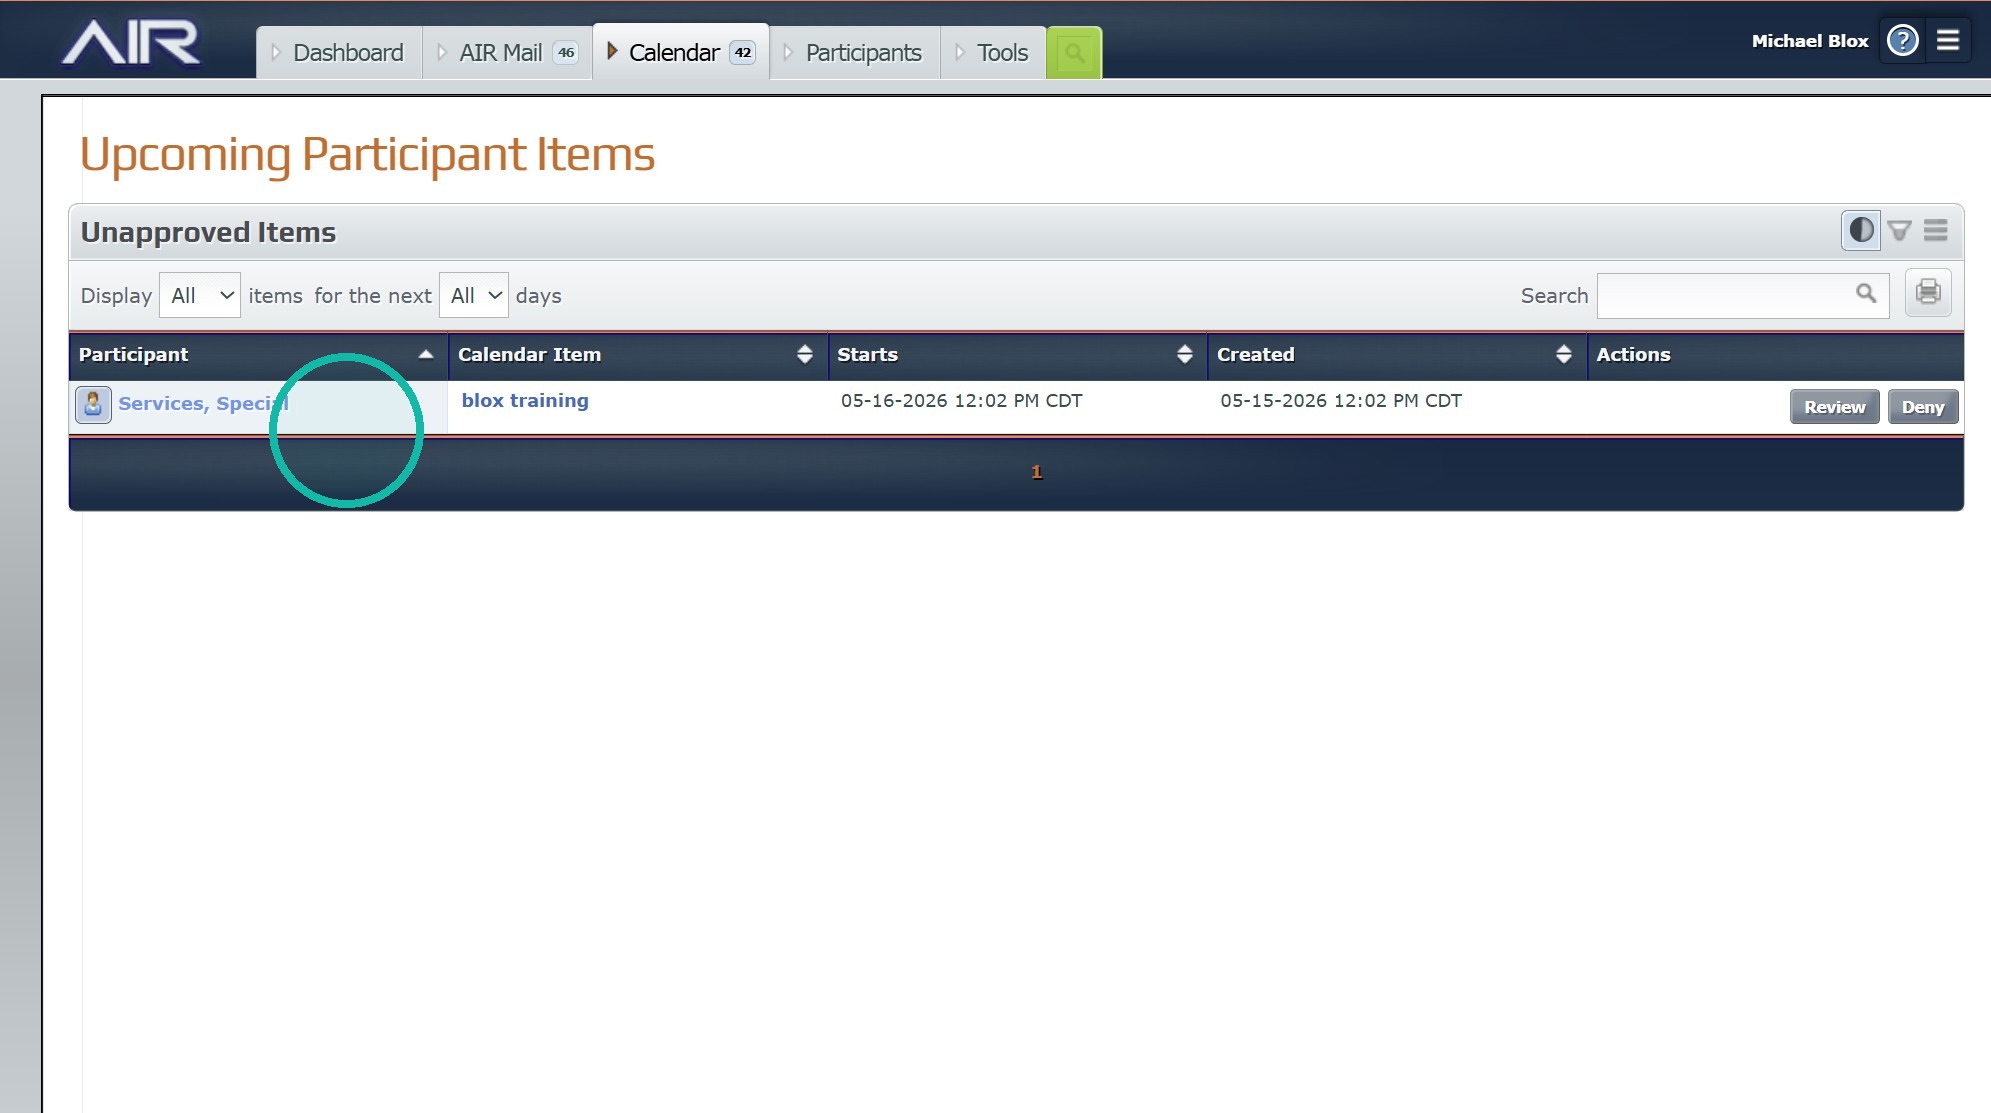
3. Click "Deny" to initiate the rejection process for the calendar item.
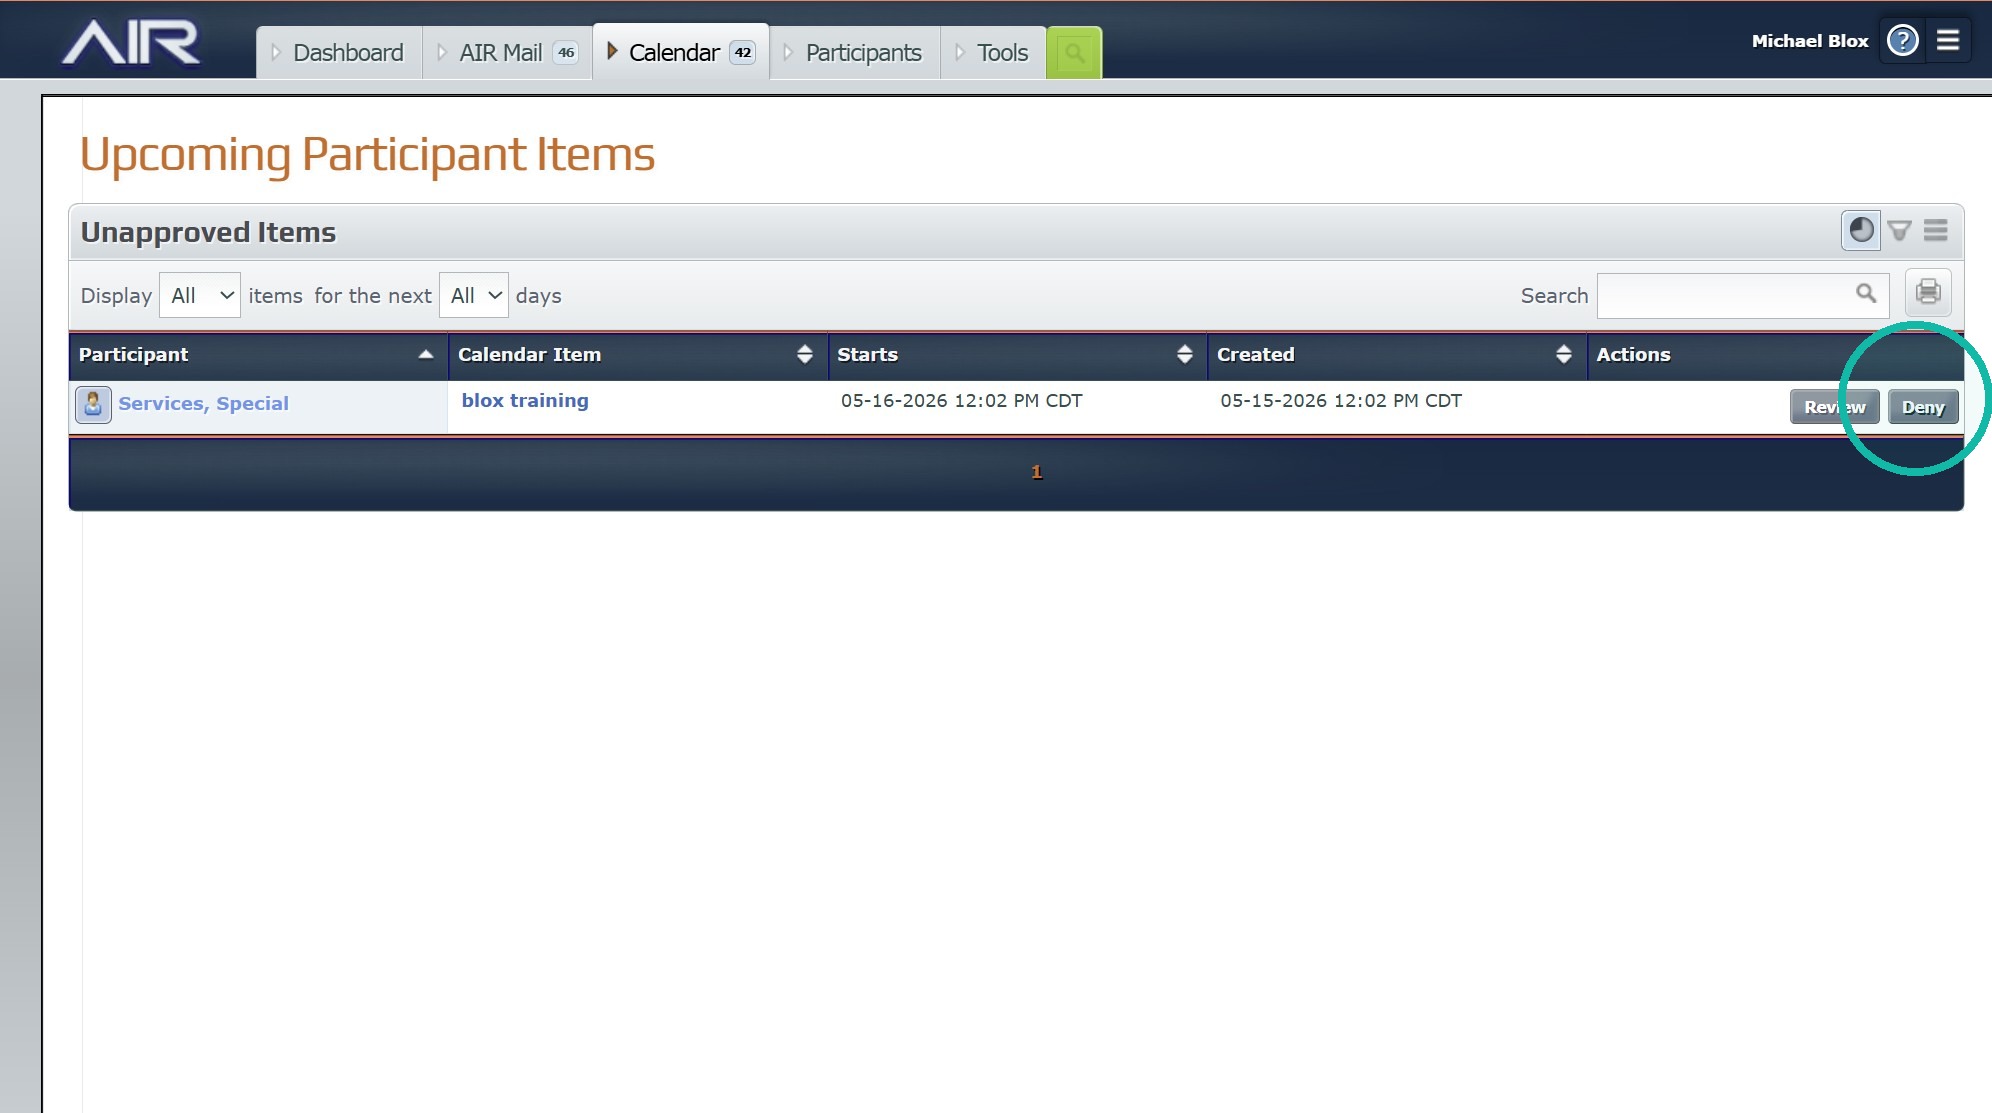
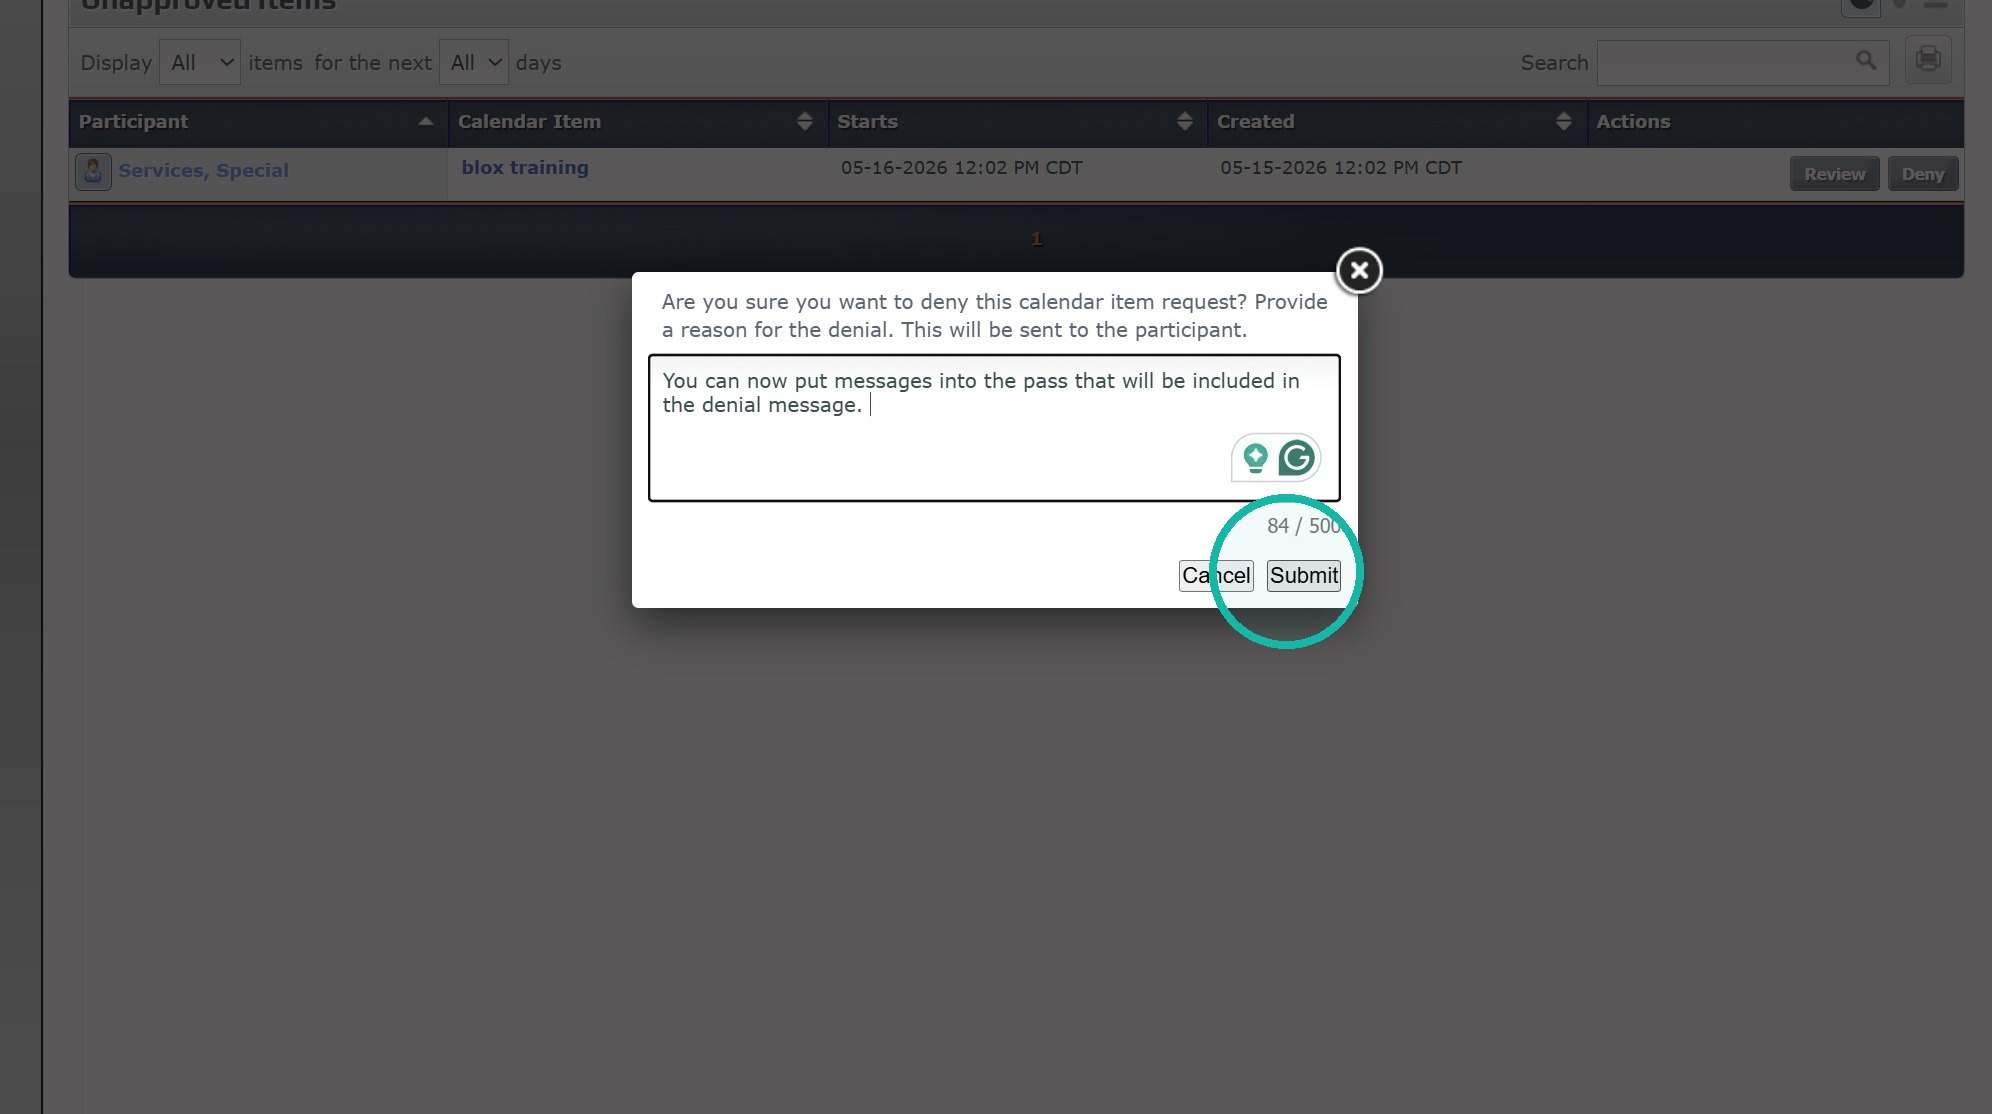
4. Enter the denial reason in the provided explanation field.
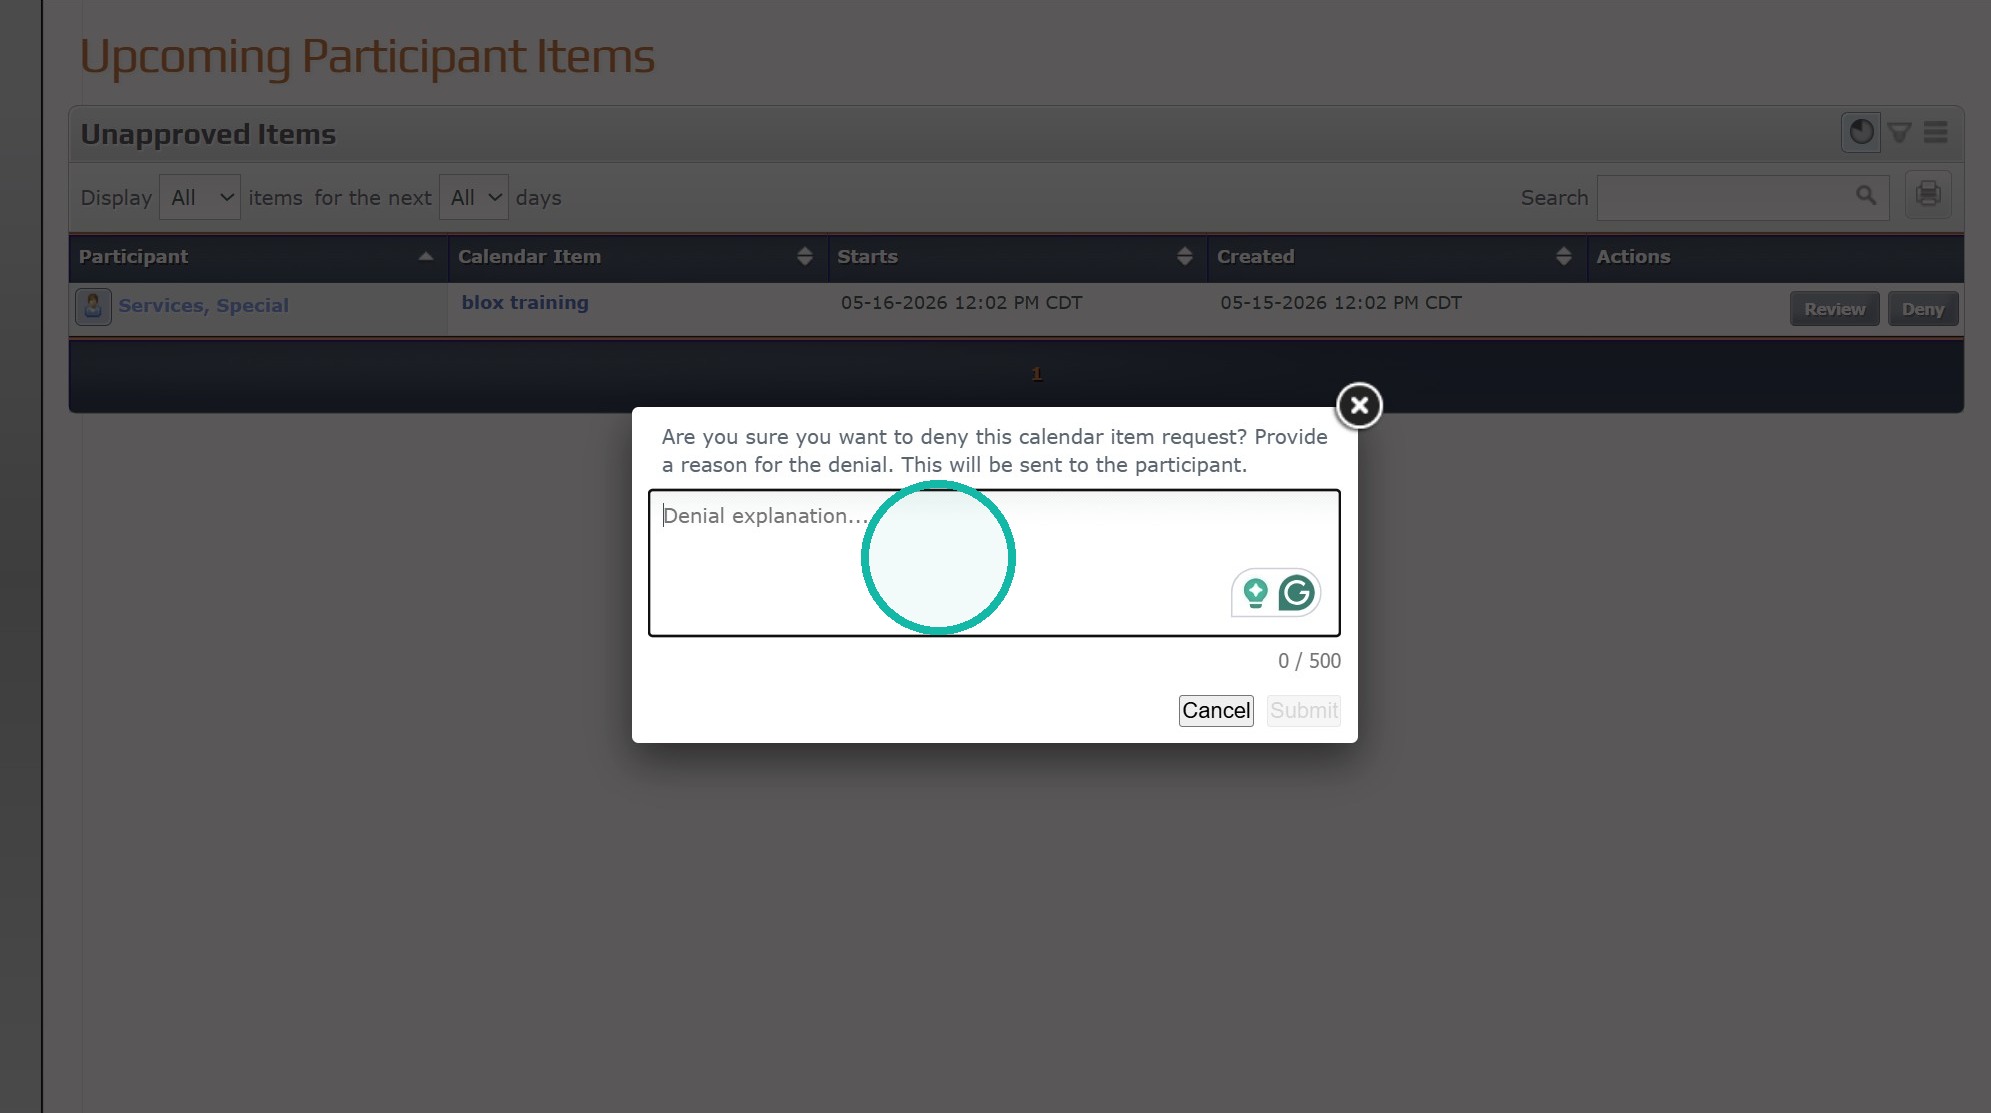
5. Click "Submit"
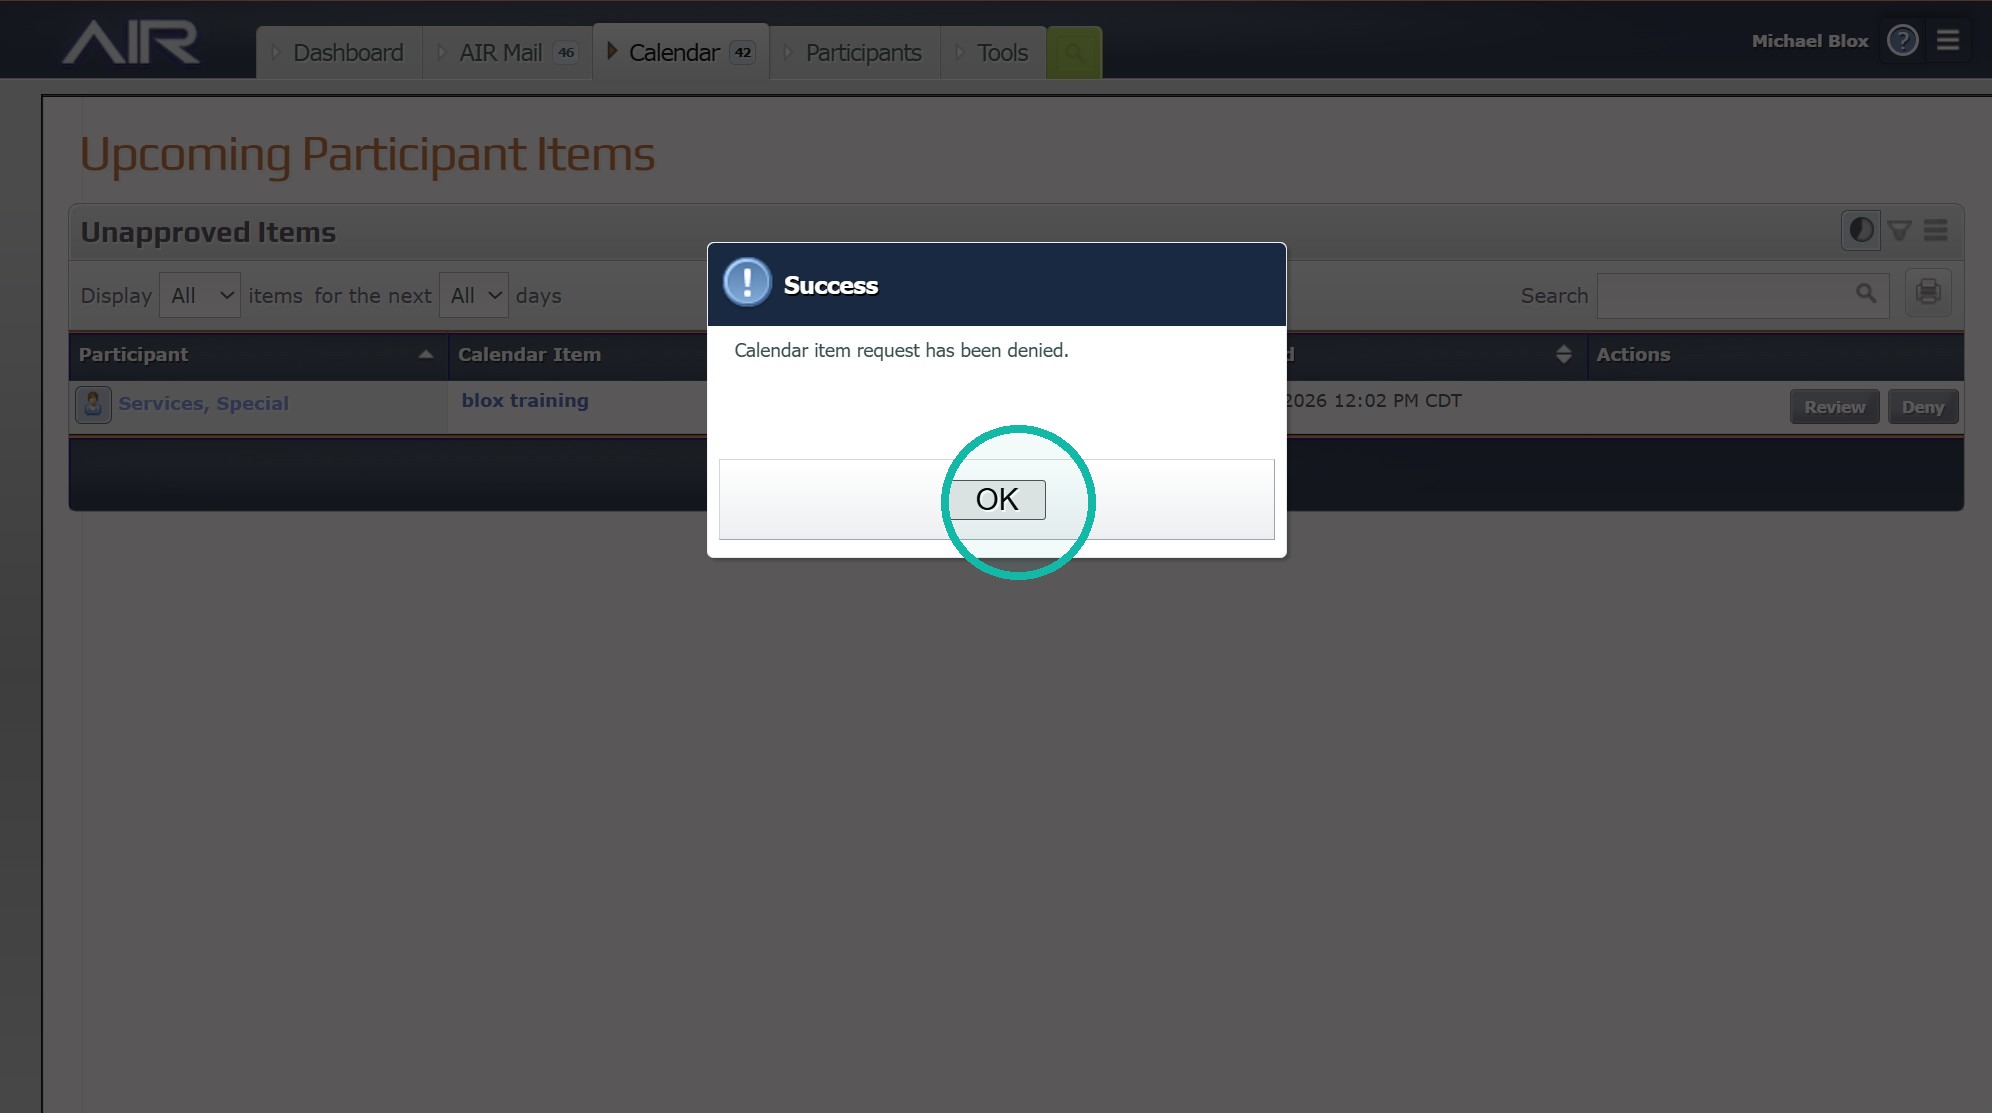
6. Click "OK"
Reviewing Denial Status
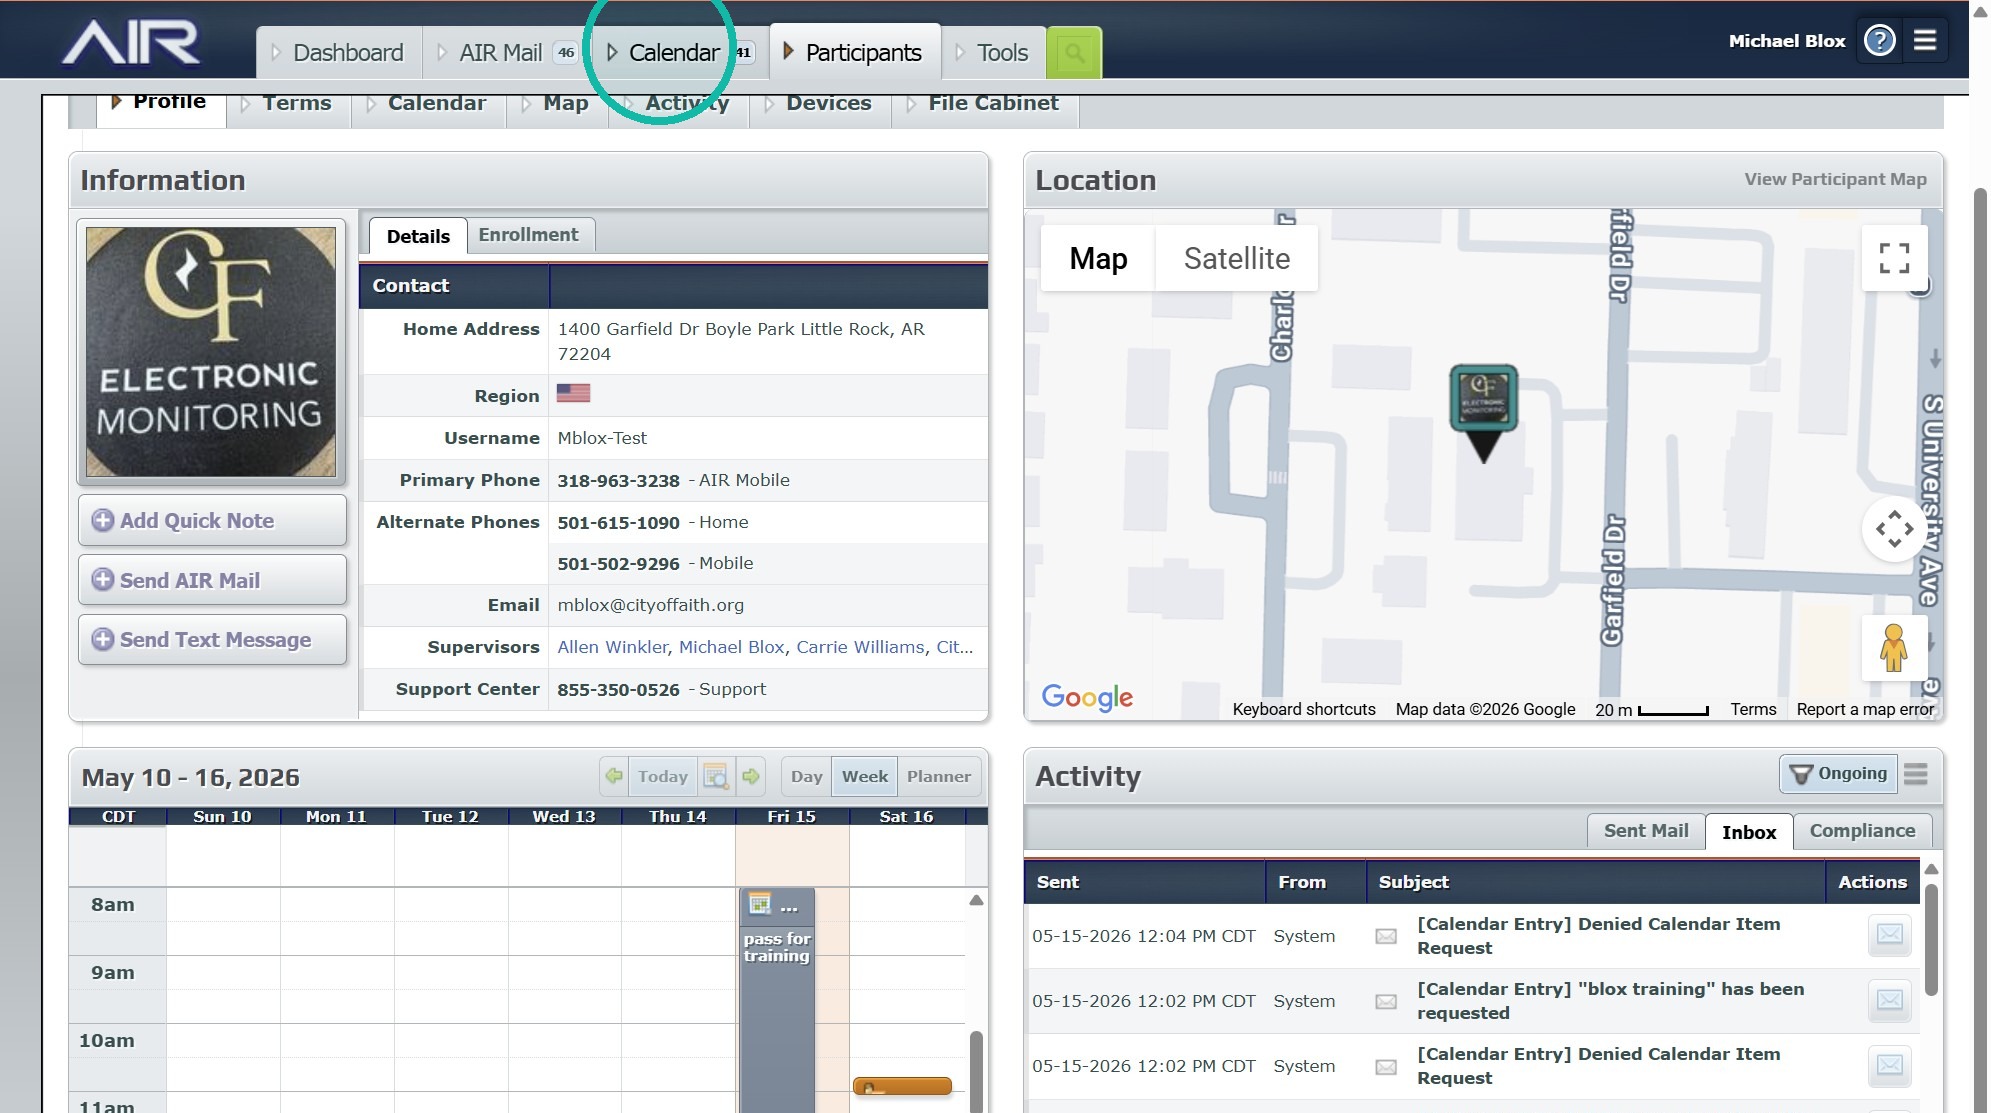
7. Click "View" to navigate to the participant's summary profile.
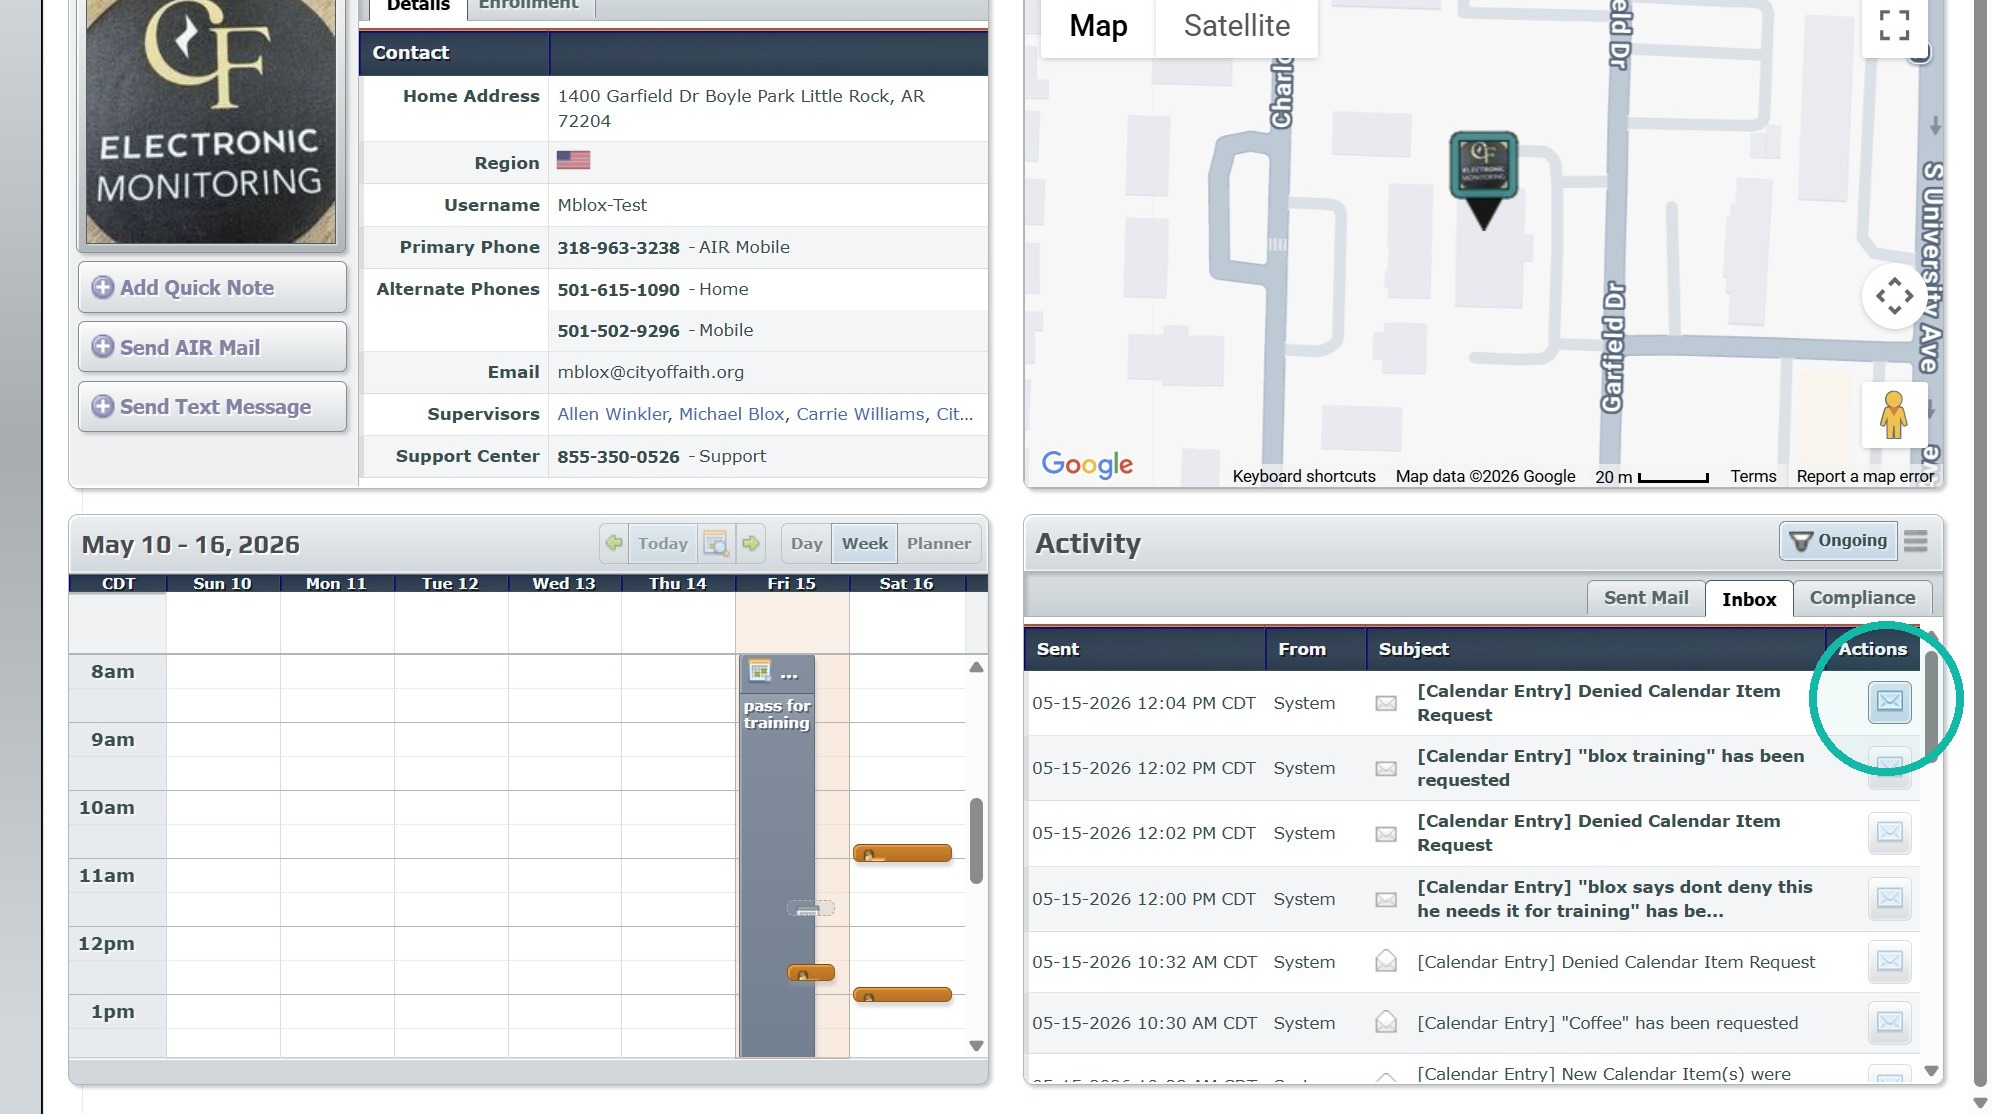
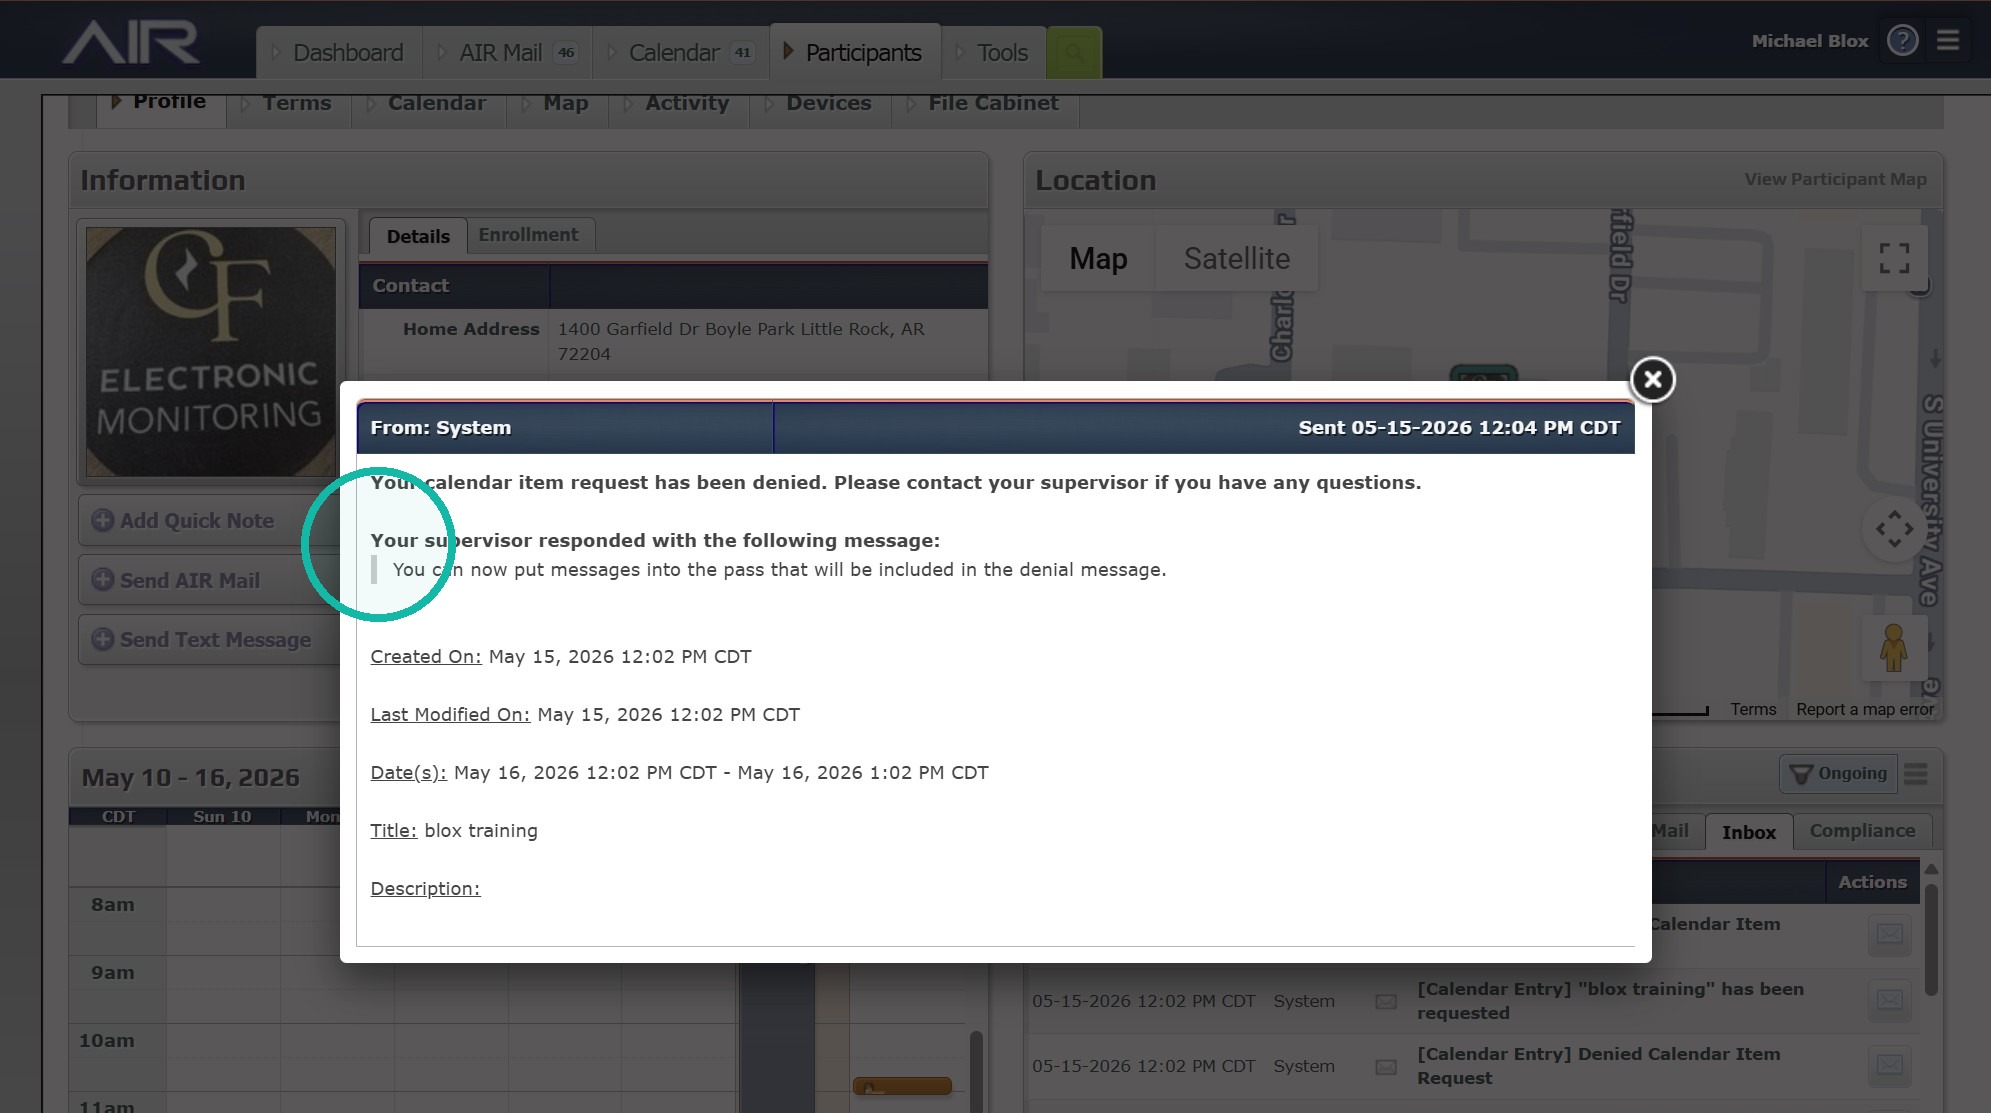
8. Select the denied request notification from the Activity feed.
Historical Pass Data
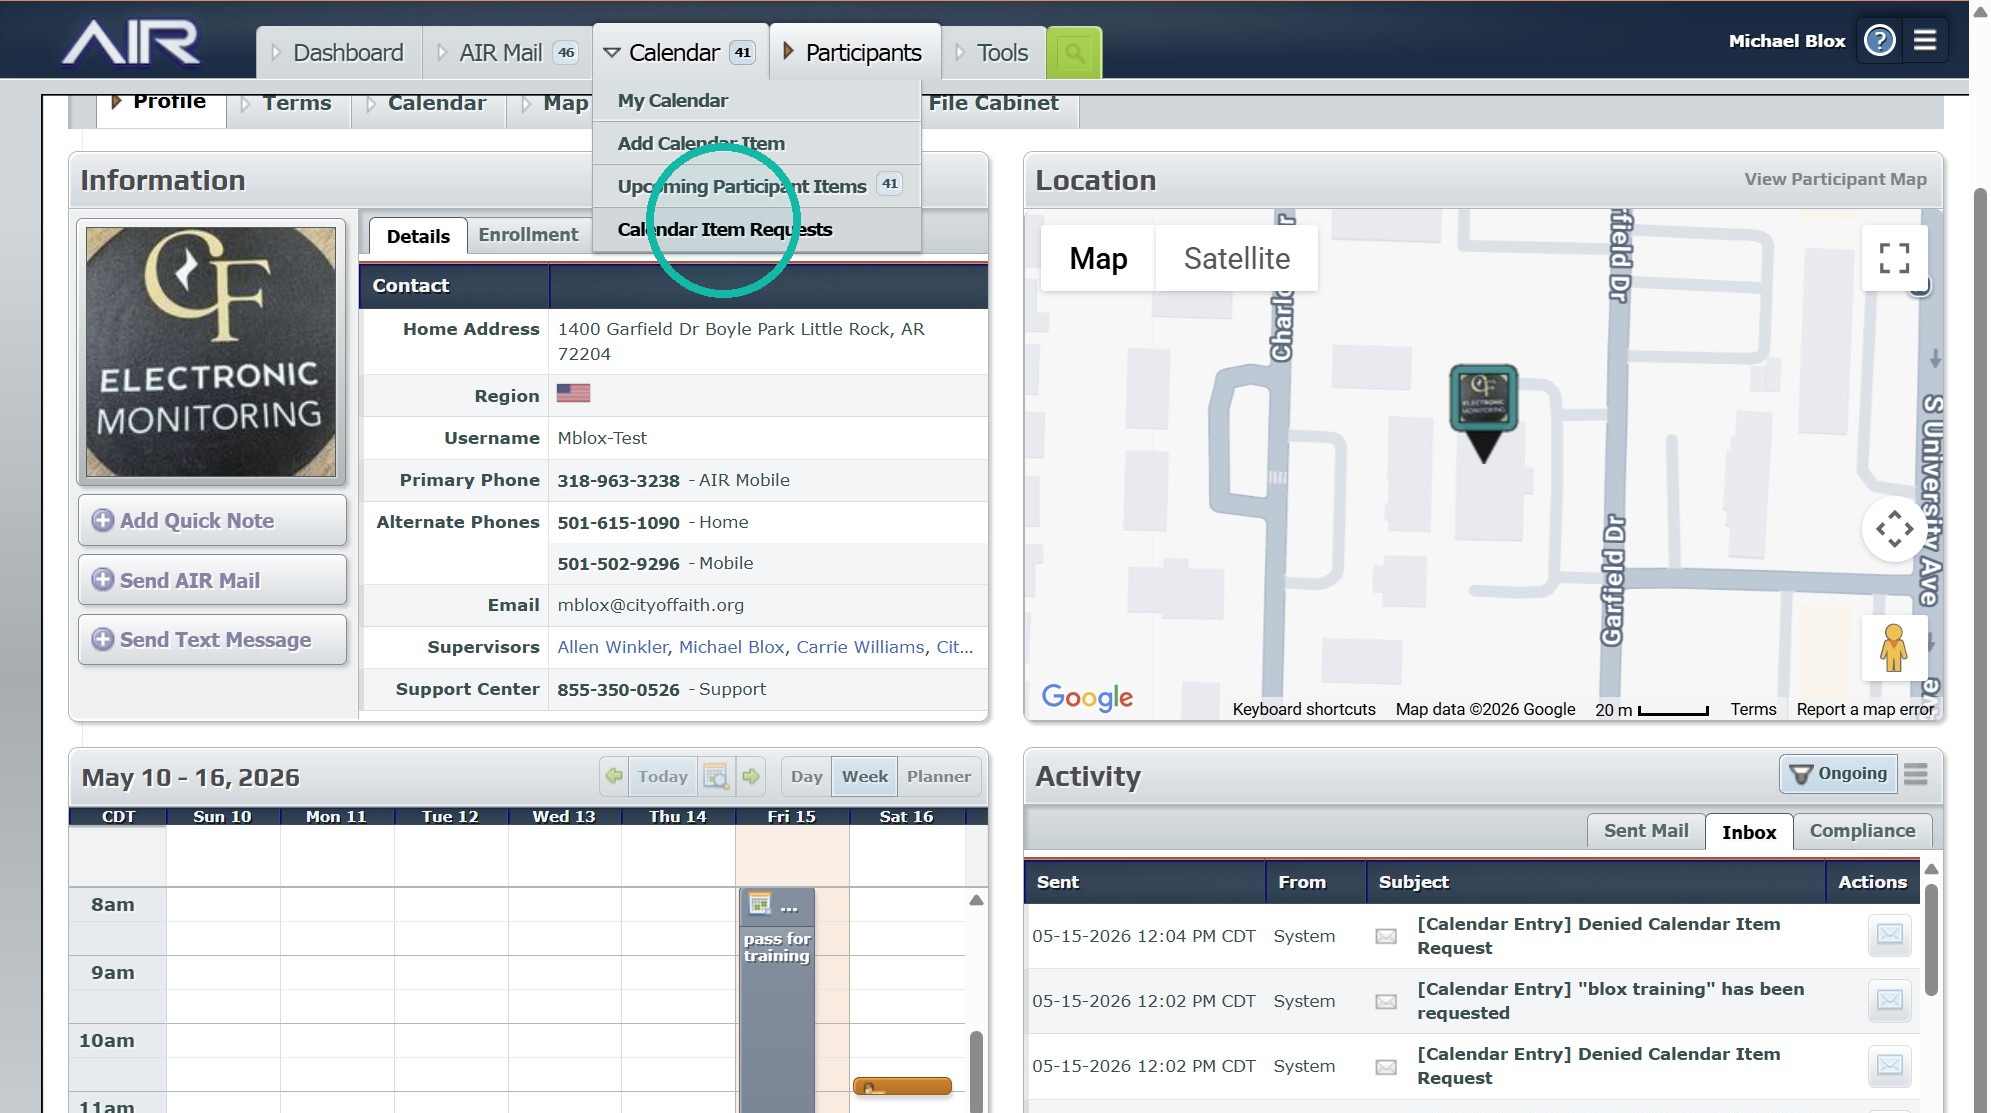
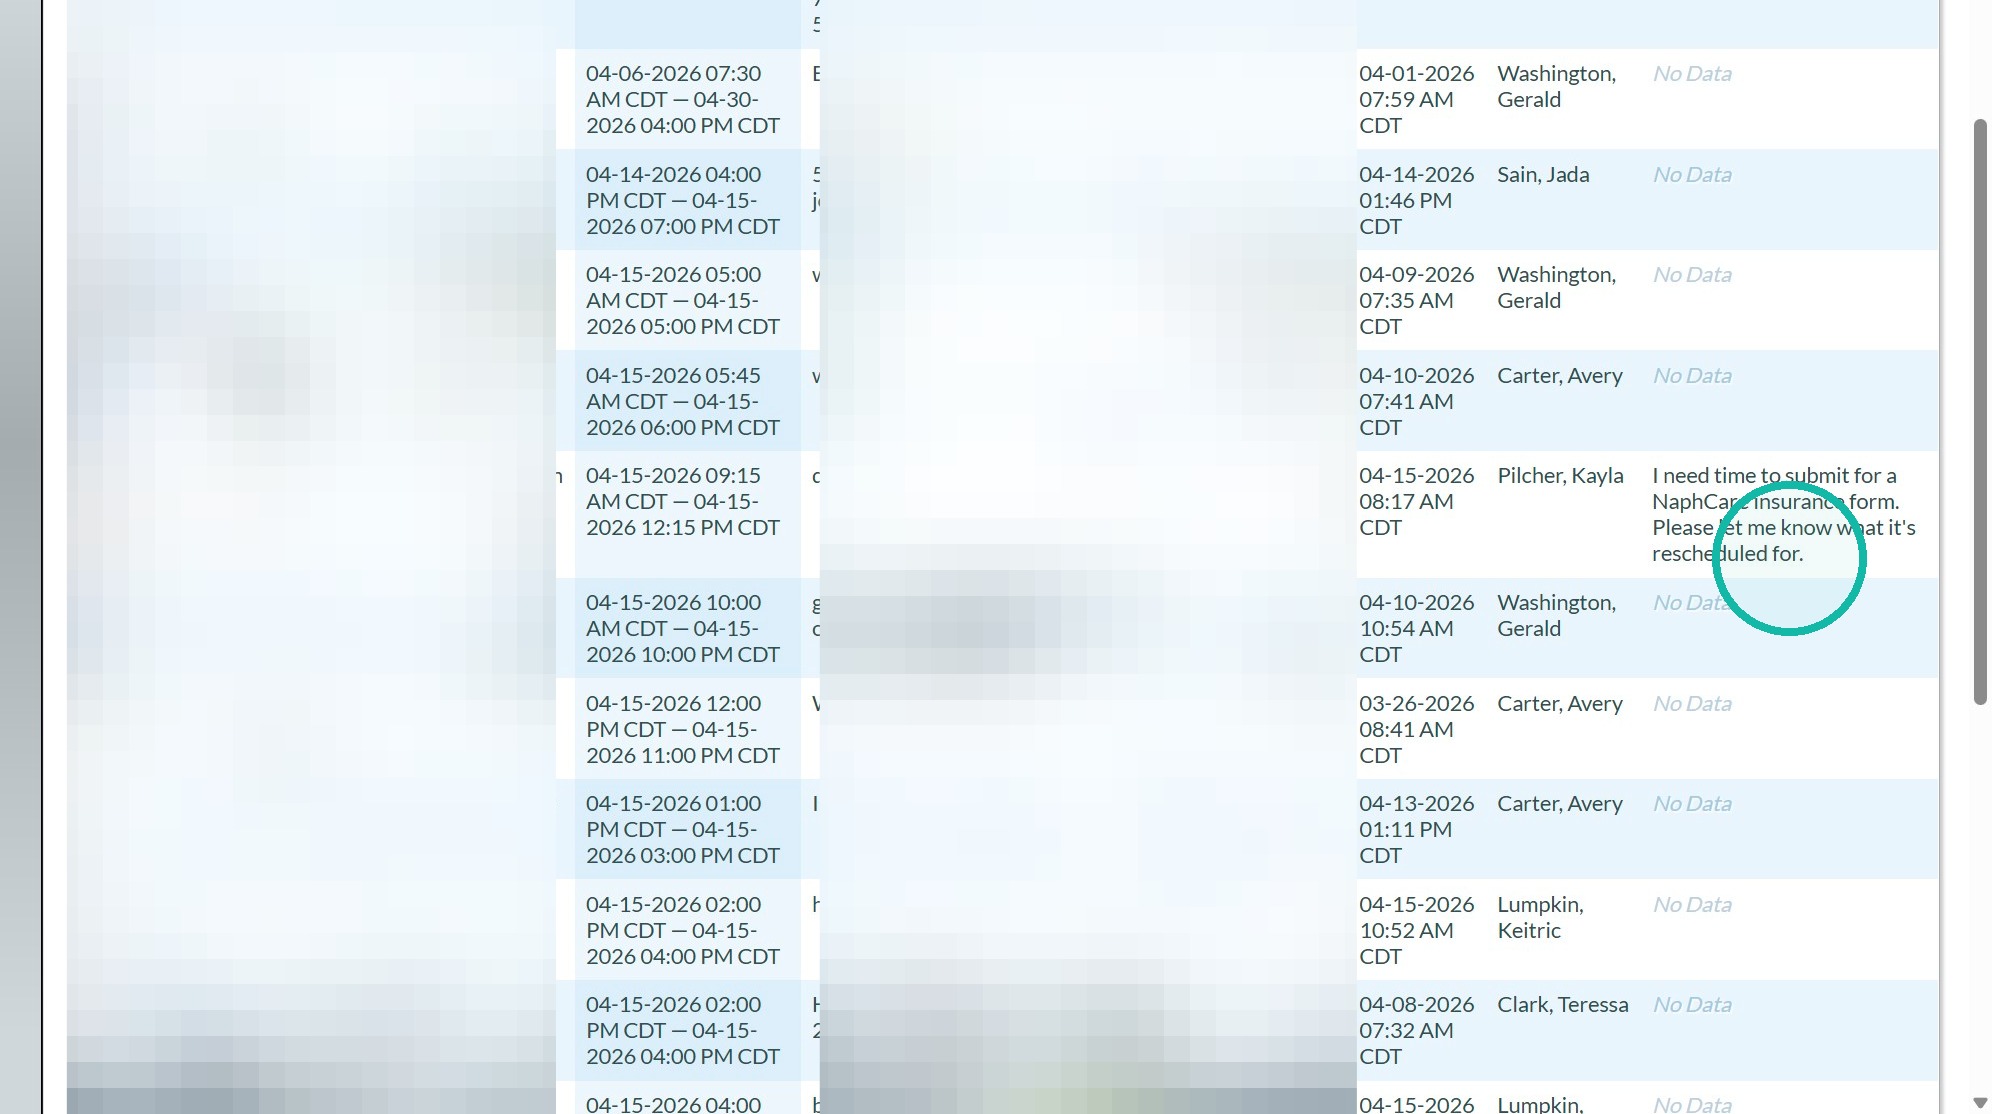
9. Navigate to the "Calendar Item Requests" section under the Calendar menu.
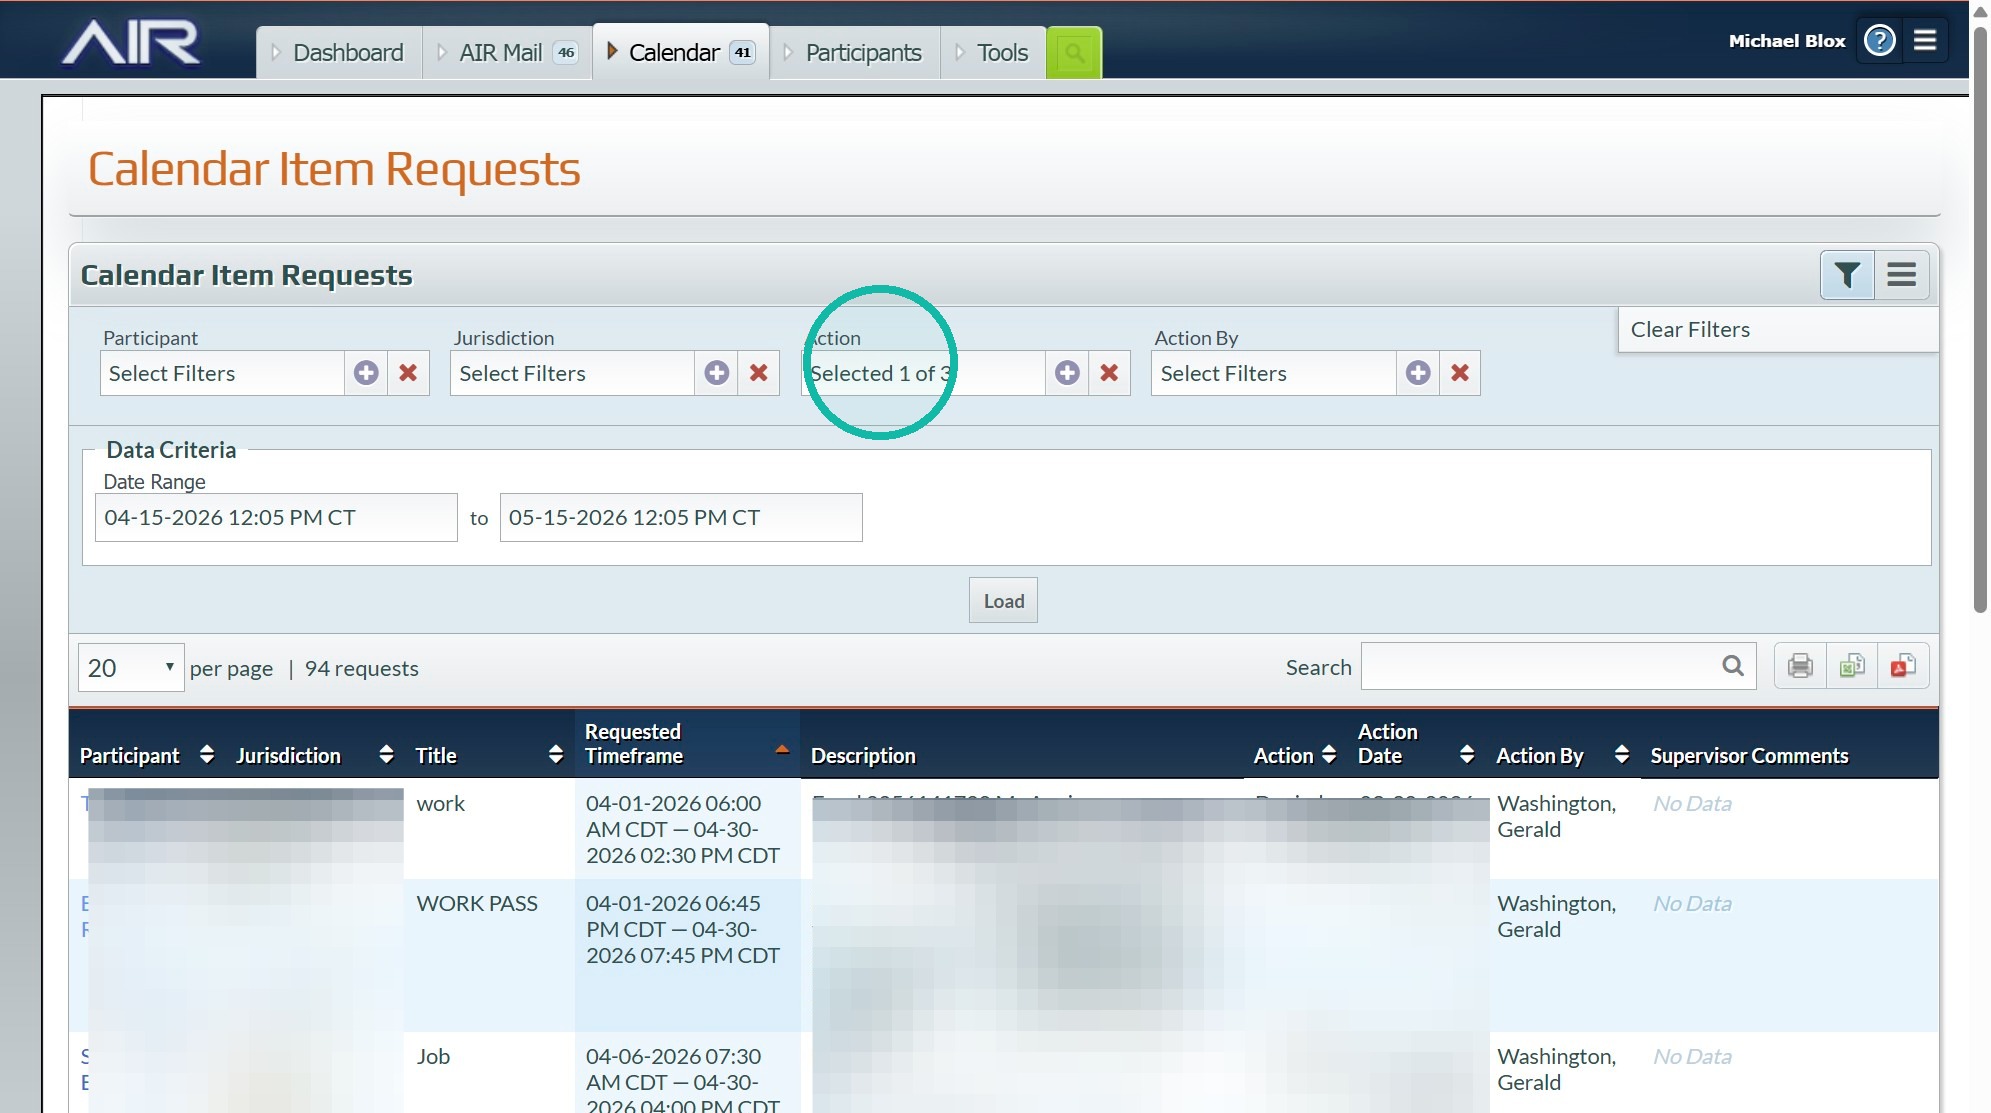
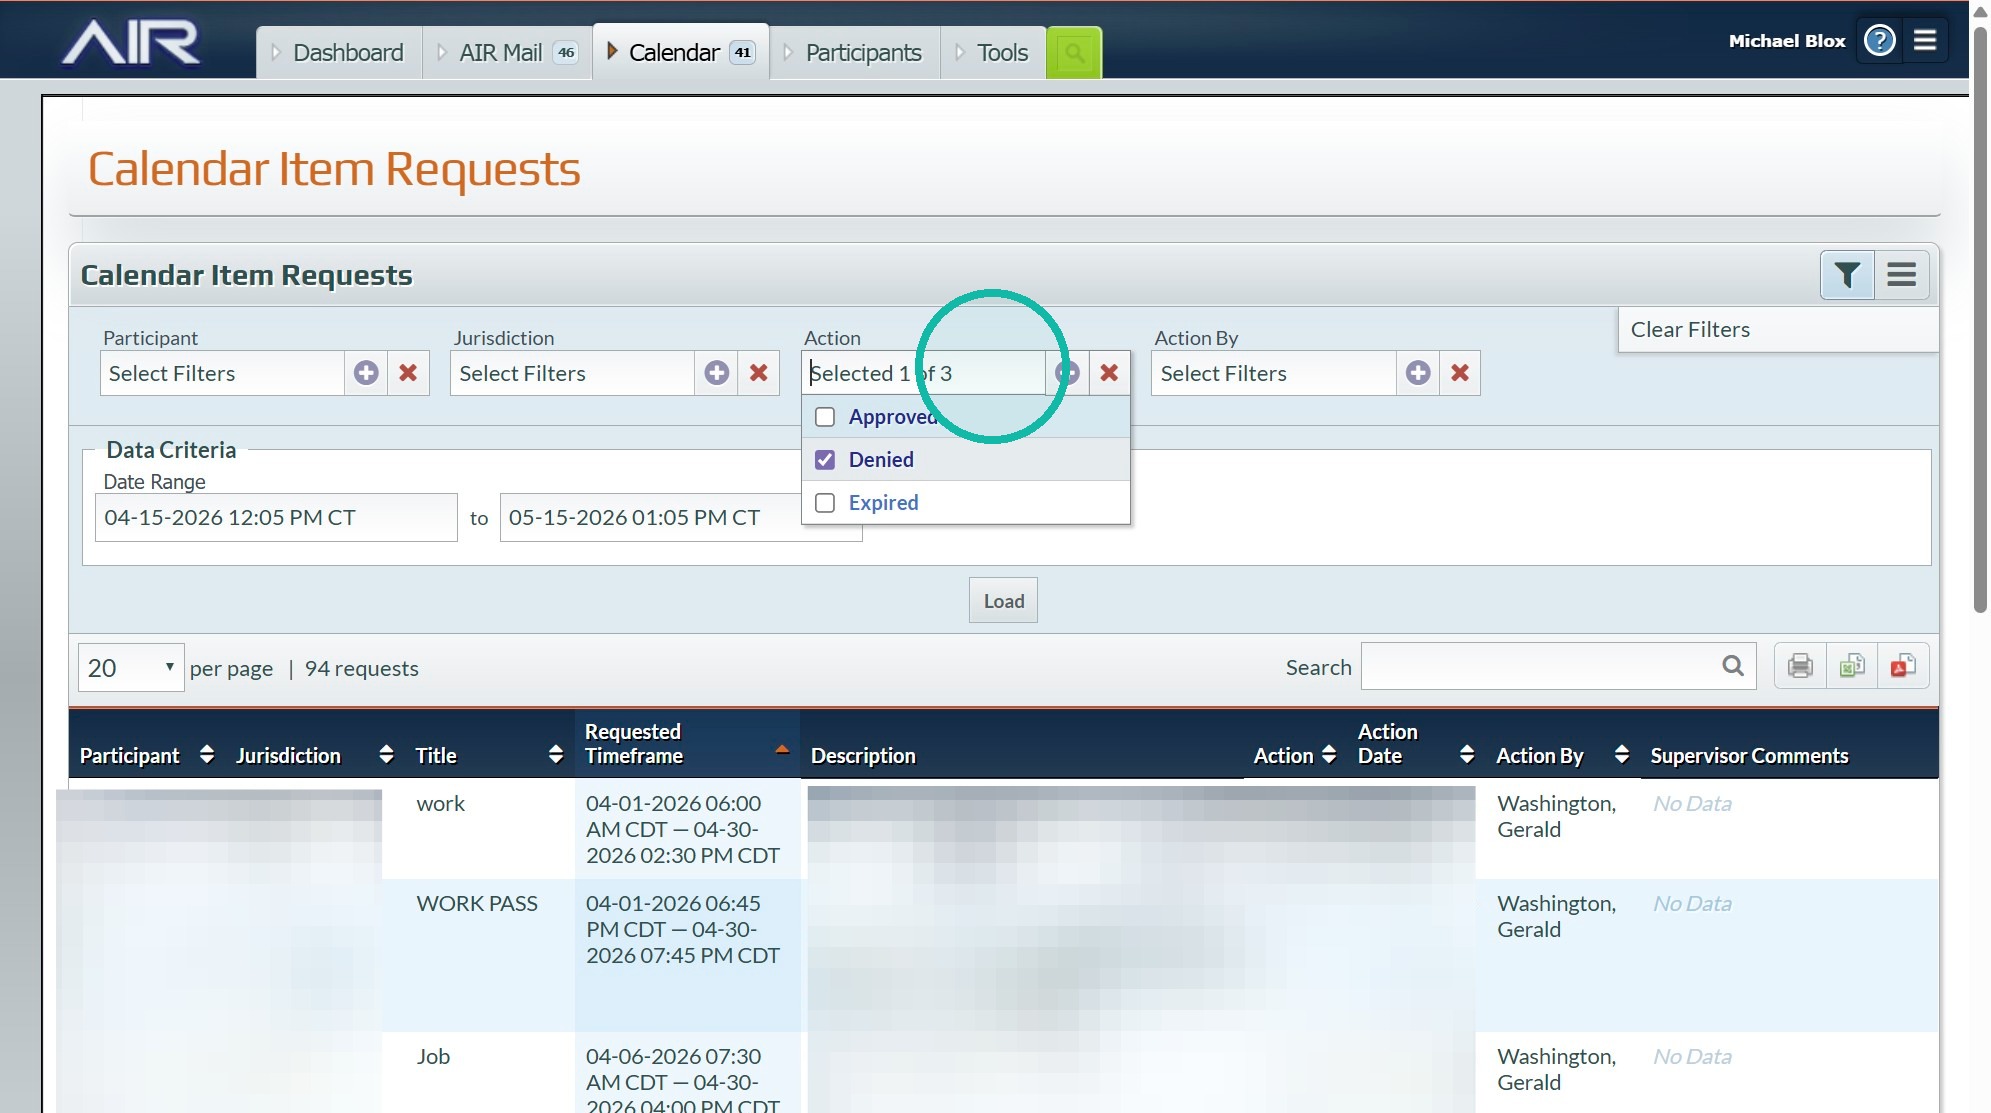
10. Filter your data by the Action
Filter By Denied
11. Your Comment will Appear in the Last Column for Historical Data
Was this article helpful?
That’s Great!
Thank you for your feedback
Sorry! We couldn't be helpful
Thank you for your feedback
Feedback sent
We appreciate your effort and will try to fix the article